
|
|
SUBSIM: The Web's #1 resource for all submarine & naval simulations since 1997
 |
SUBSIM: The Web's #1 resource for all submarine & naval simulations since 1997 |
 06-05-13, 05:37 PM
|
#91 |
|
Eternal Patrol
 |
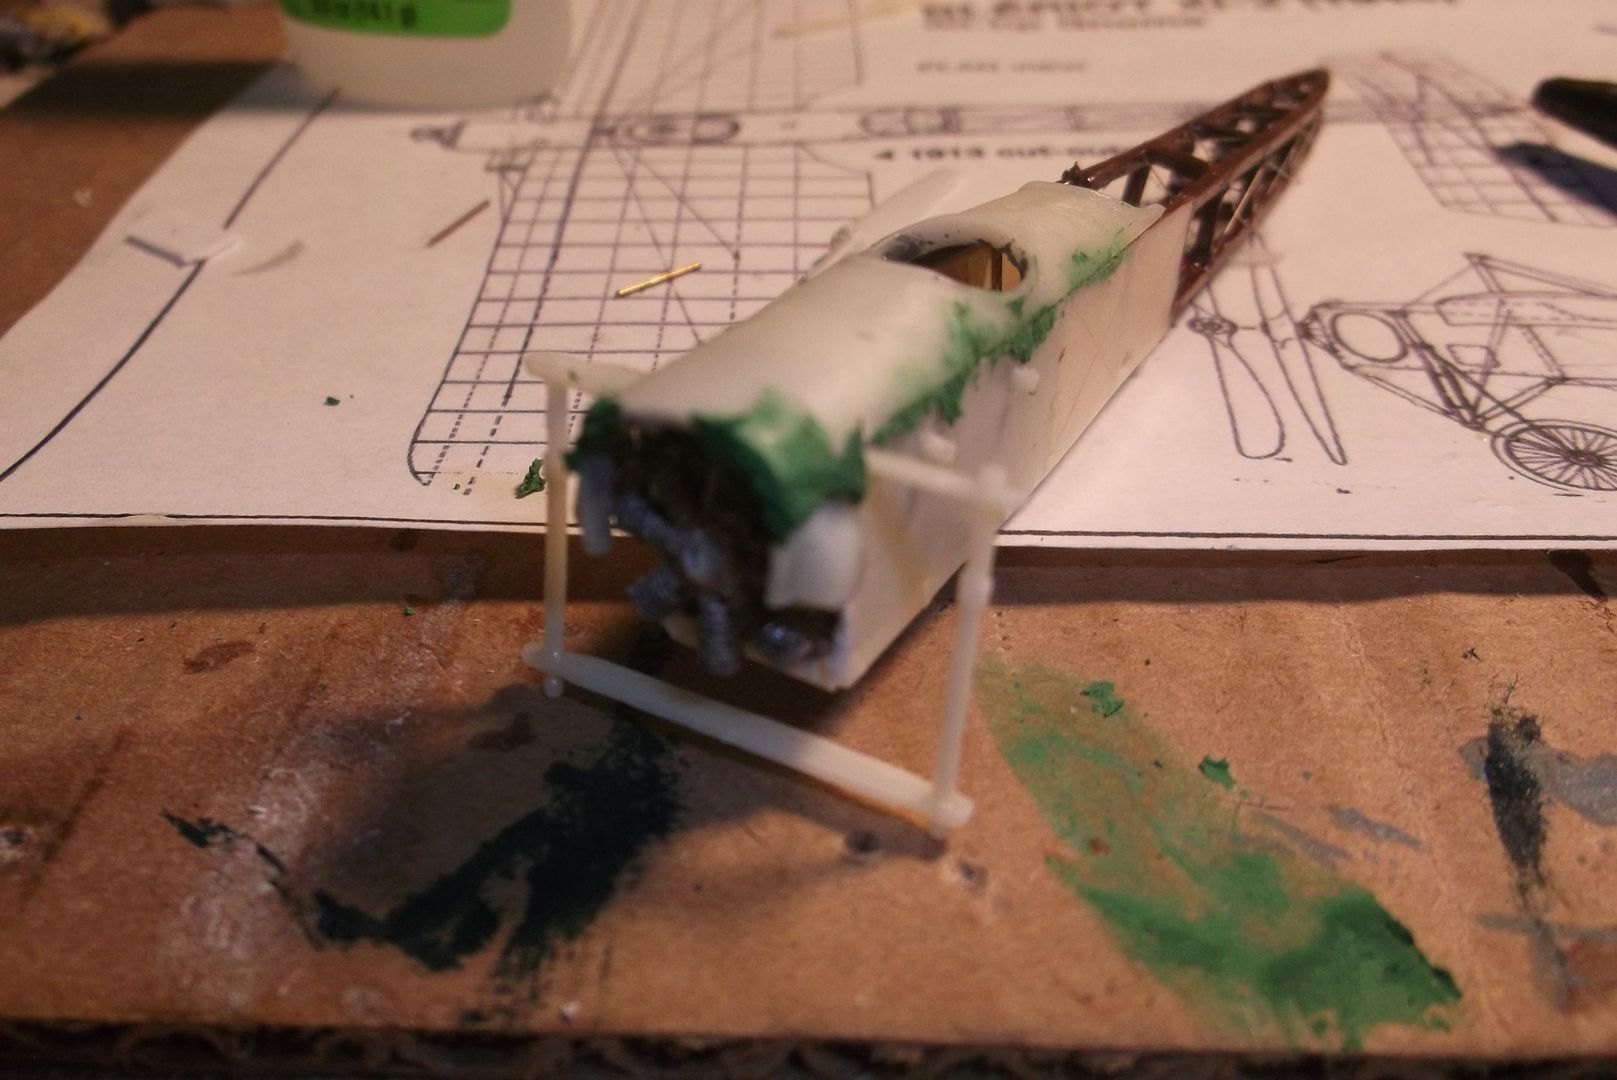
Slow going. I'm still waiting on the new regulator. Last night I installed the basic landing gear frame, but I can't do any more until I paint the forward fuselage. I also realized that I can't do that until the seams are smooth. I don't know how I could forget that, but I did. So, the first layer of putty is in place, drying as I type. Here is a close-up of that slop and the engine and landing gear frame.
__________________
“Never do anything you can't take back.” —Rocky Russo |

|

|
 06-06-13, 03:09 PM
|
#92 |
|
Eternal Patrol
 |
The regulator came today, and everything works perfectly now. It wasn't until after I was testing the airbrush that I realized a probably haven't touched one in a decade, if not longer. That tells you how old my previous models are, and how rusty I probably am. Still, the first step went as planned, so things are looking up.
Last night I sanded down the putty I had applied, but didn't take a picture. Just now I applied a primer coat of flat grey (actually RLM 76 Helgrau was the lightest grey I had). After drying for a few minutes it was time for an inspection. 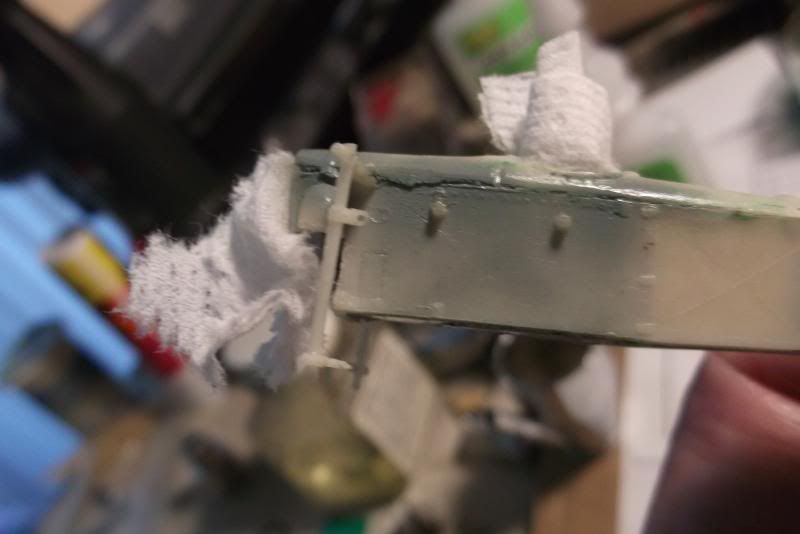 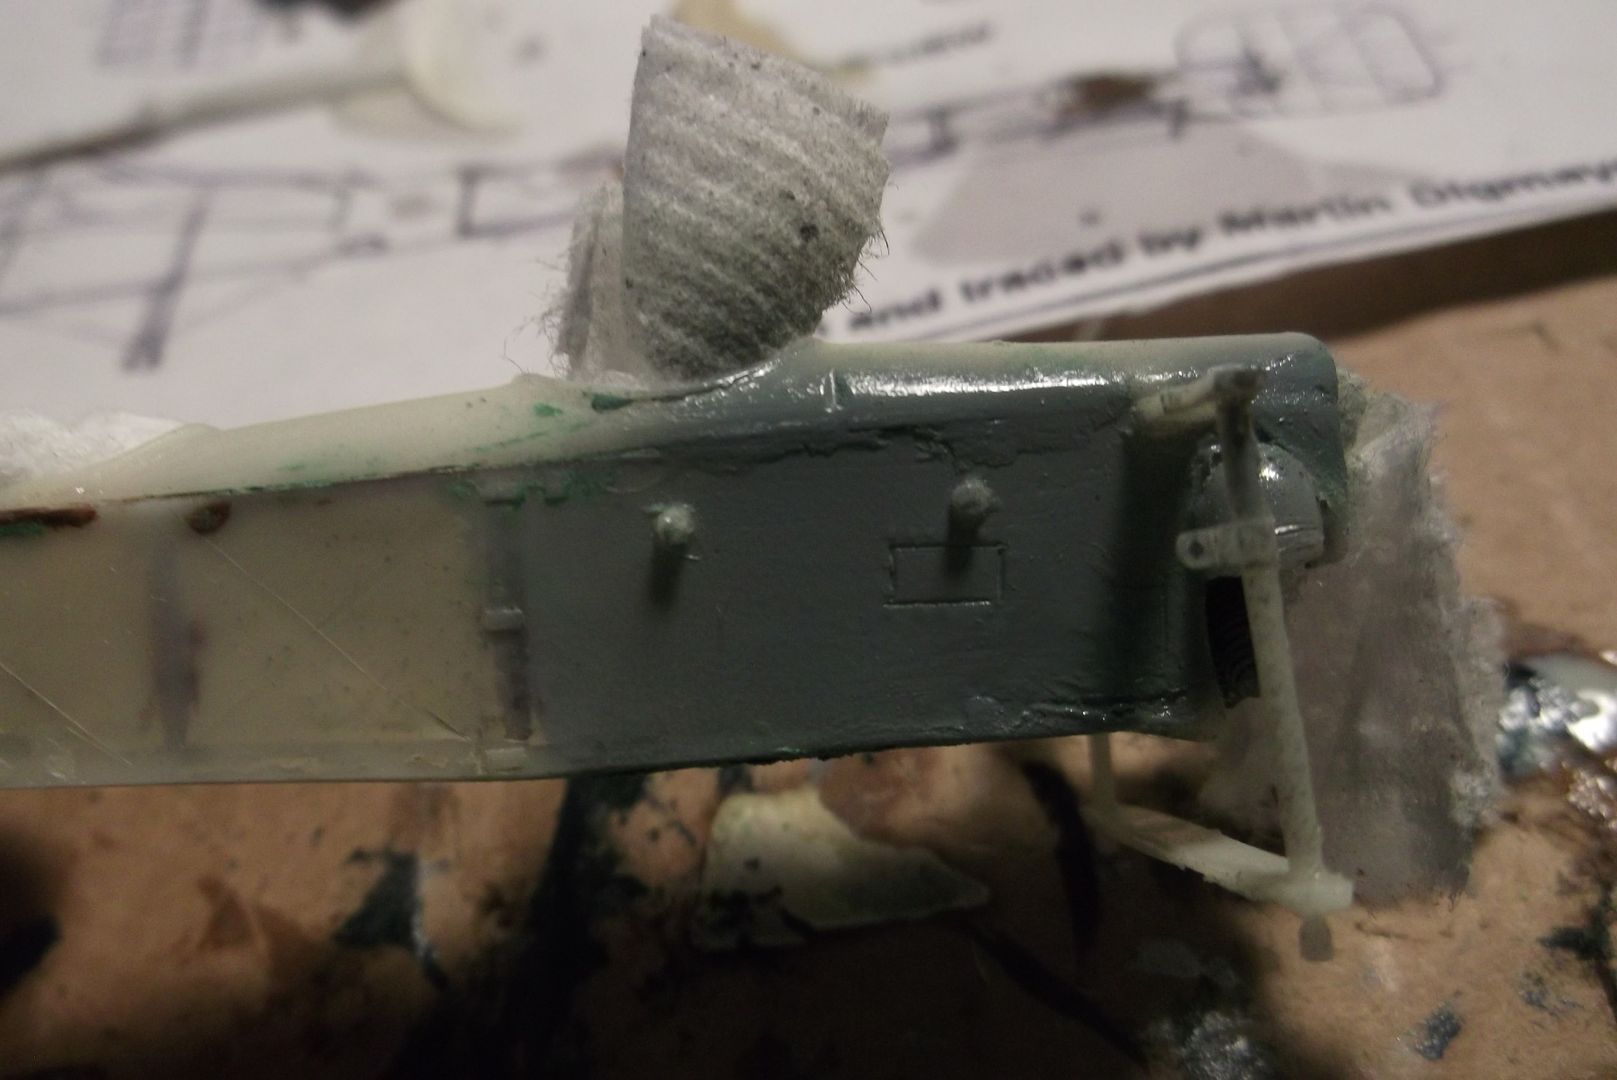 Hmm. Needs some more sanding, and possibly a tiny bit more putty. We'll see when it's completely dry, maybe another hour or so.
__________________
“Never do anything you can't take back.” —Rocky Russo |

|

|
 06-07-13, 01:34 PM
|
#93 |
|
Eternal Patrol
 |
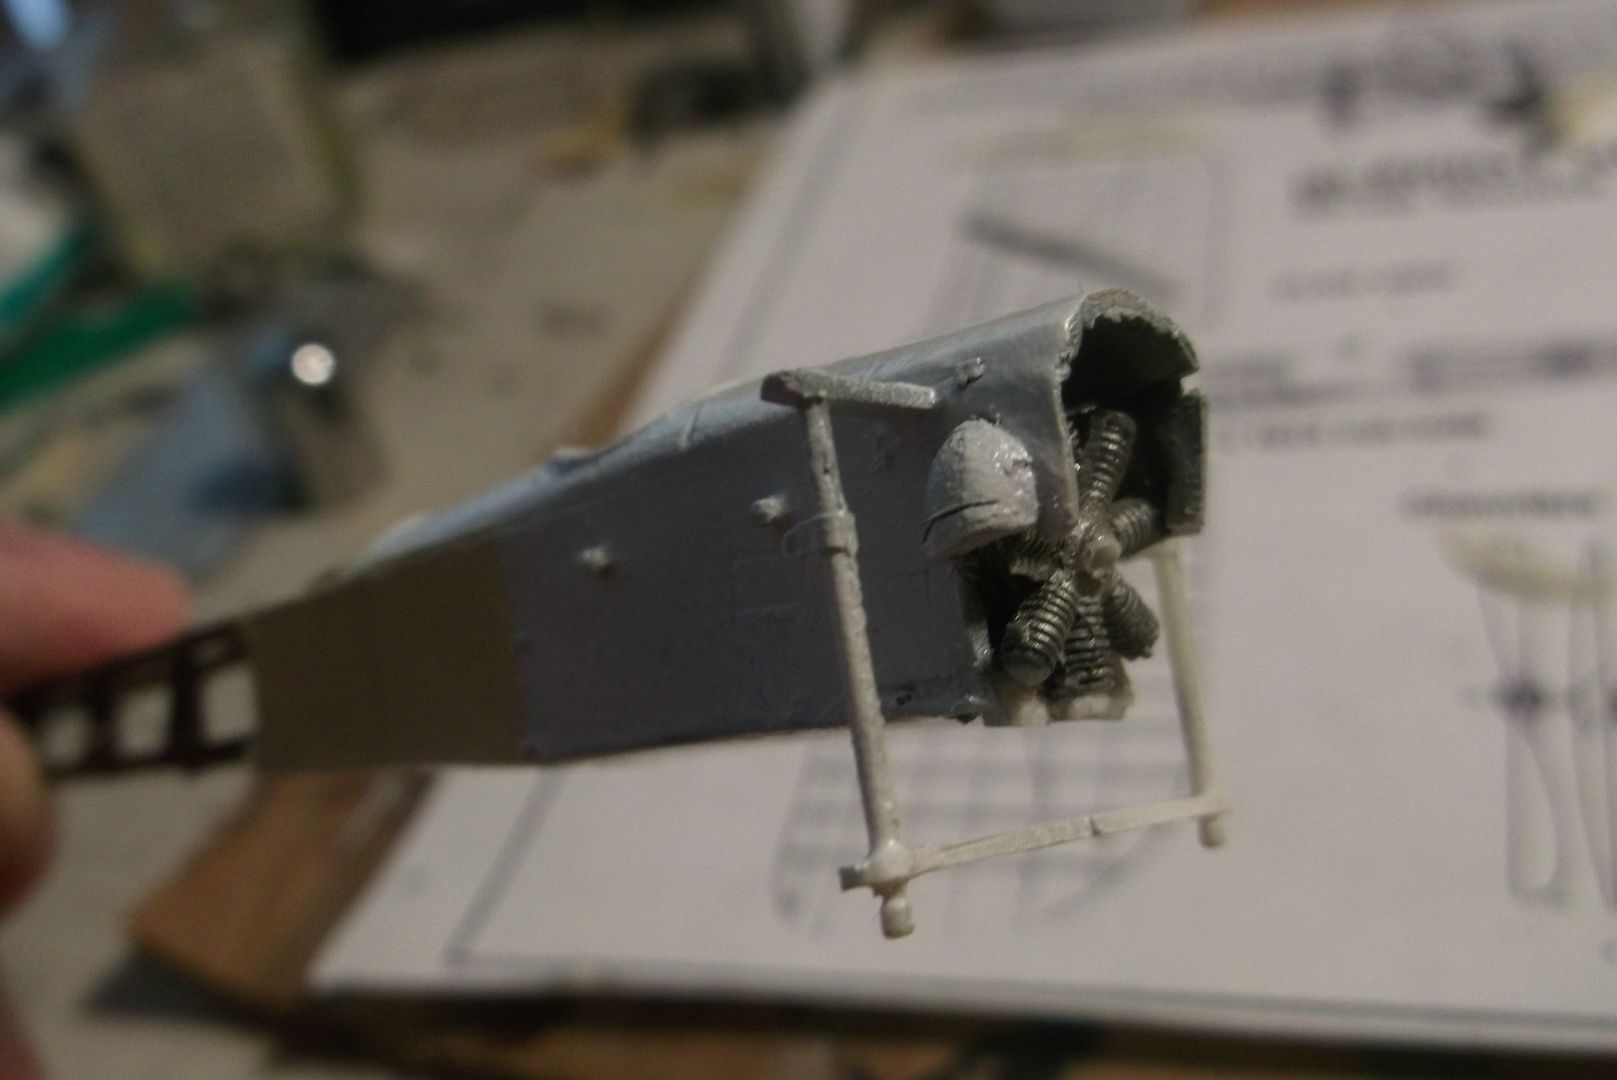
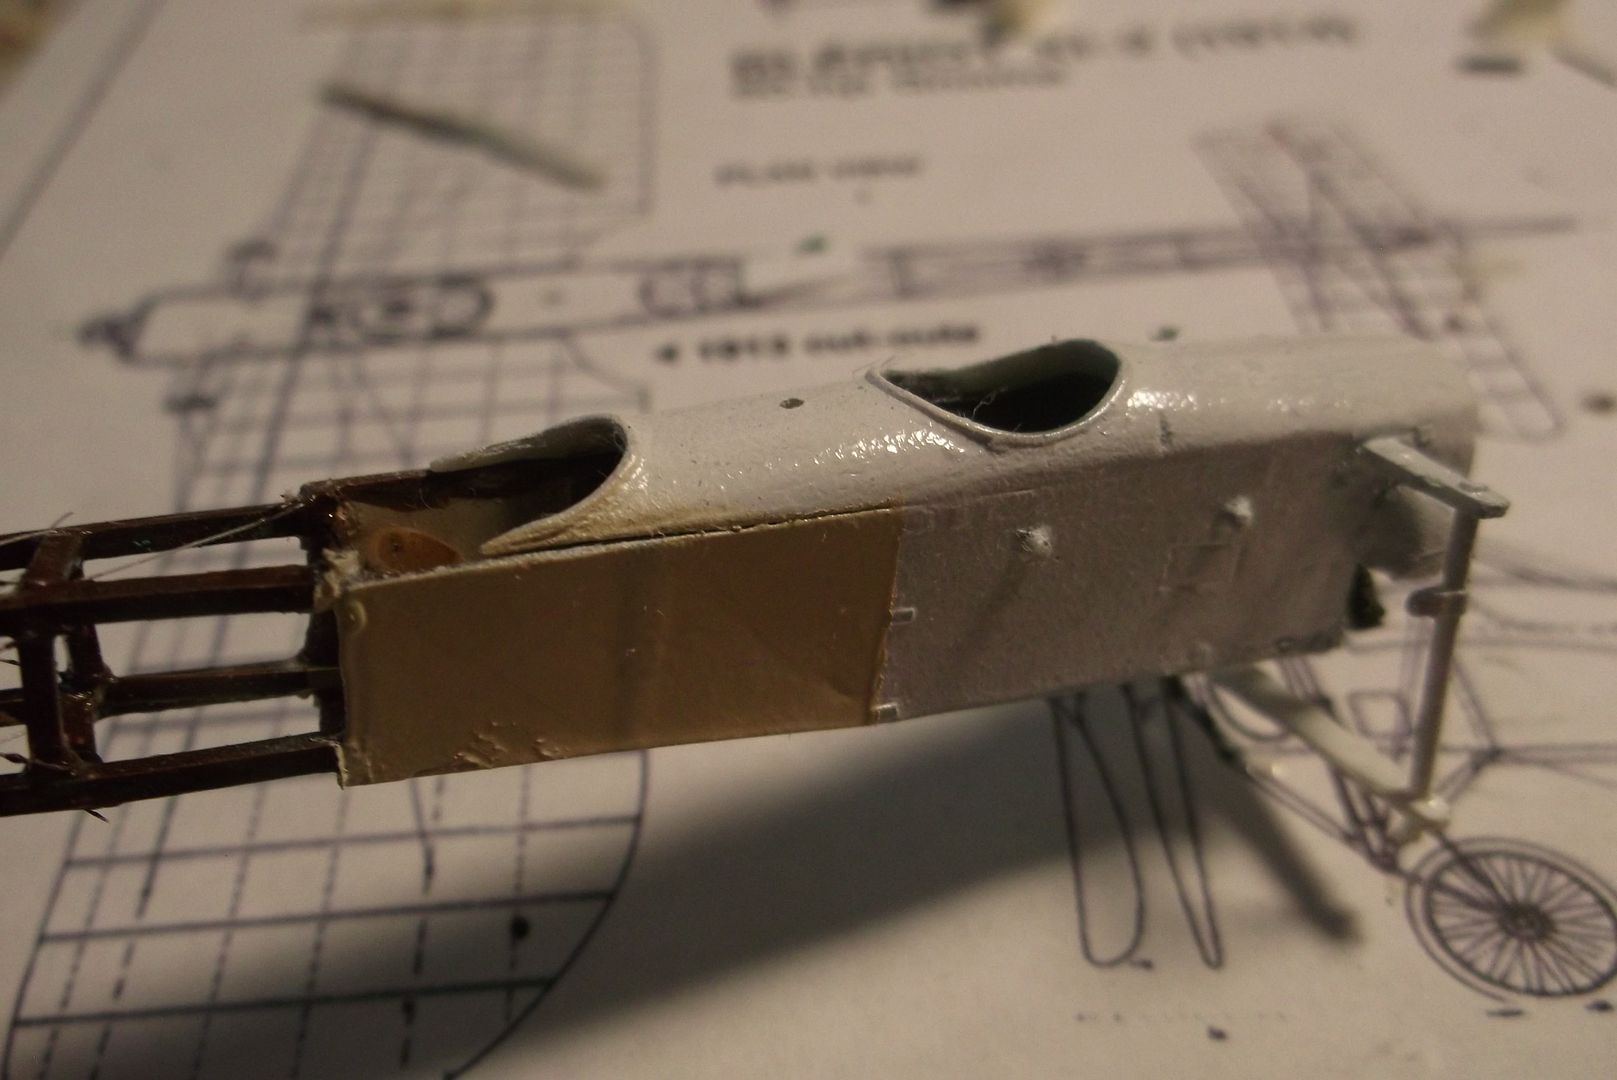
Fuselage is done. French and British Bleriots either had bare metal or were painted grey. I wanted to do an Italian one, just because of the bright colors. Their bodies were painted white. The after section, like the wings were covered with linen, which then recieved a coat of clear dope. The dope would yellow in the sunshine.
__________________
“Never do anything you can't take back.” —Rocky Russo |

|

|
 06-08-13, 07:39 AM
|
#94 |
|
Eternal Patrol
 |
Landing Gear Assembly, Part 1.
The Bleriot had a really intricate landing gear setup. This is the main bracing. The horizontal braces were of wood. This one has the upper supports painted white, to match the metal body panels, while the lower cross-brace is varnished. The vertical supports are thick steel tubing with an inner shock strut at the top. The hardest part were the two coil springs on the front and rear of each tube. Of course what you see on the model is all resin and plastic. 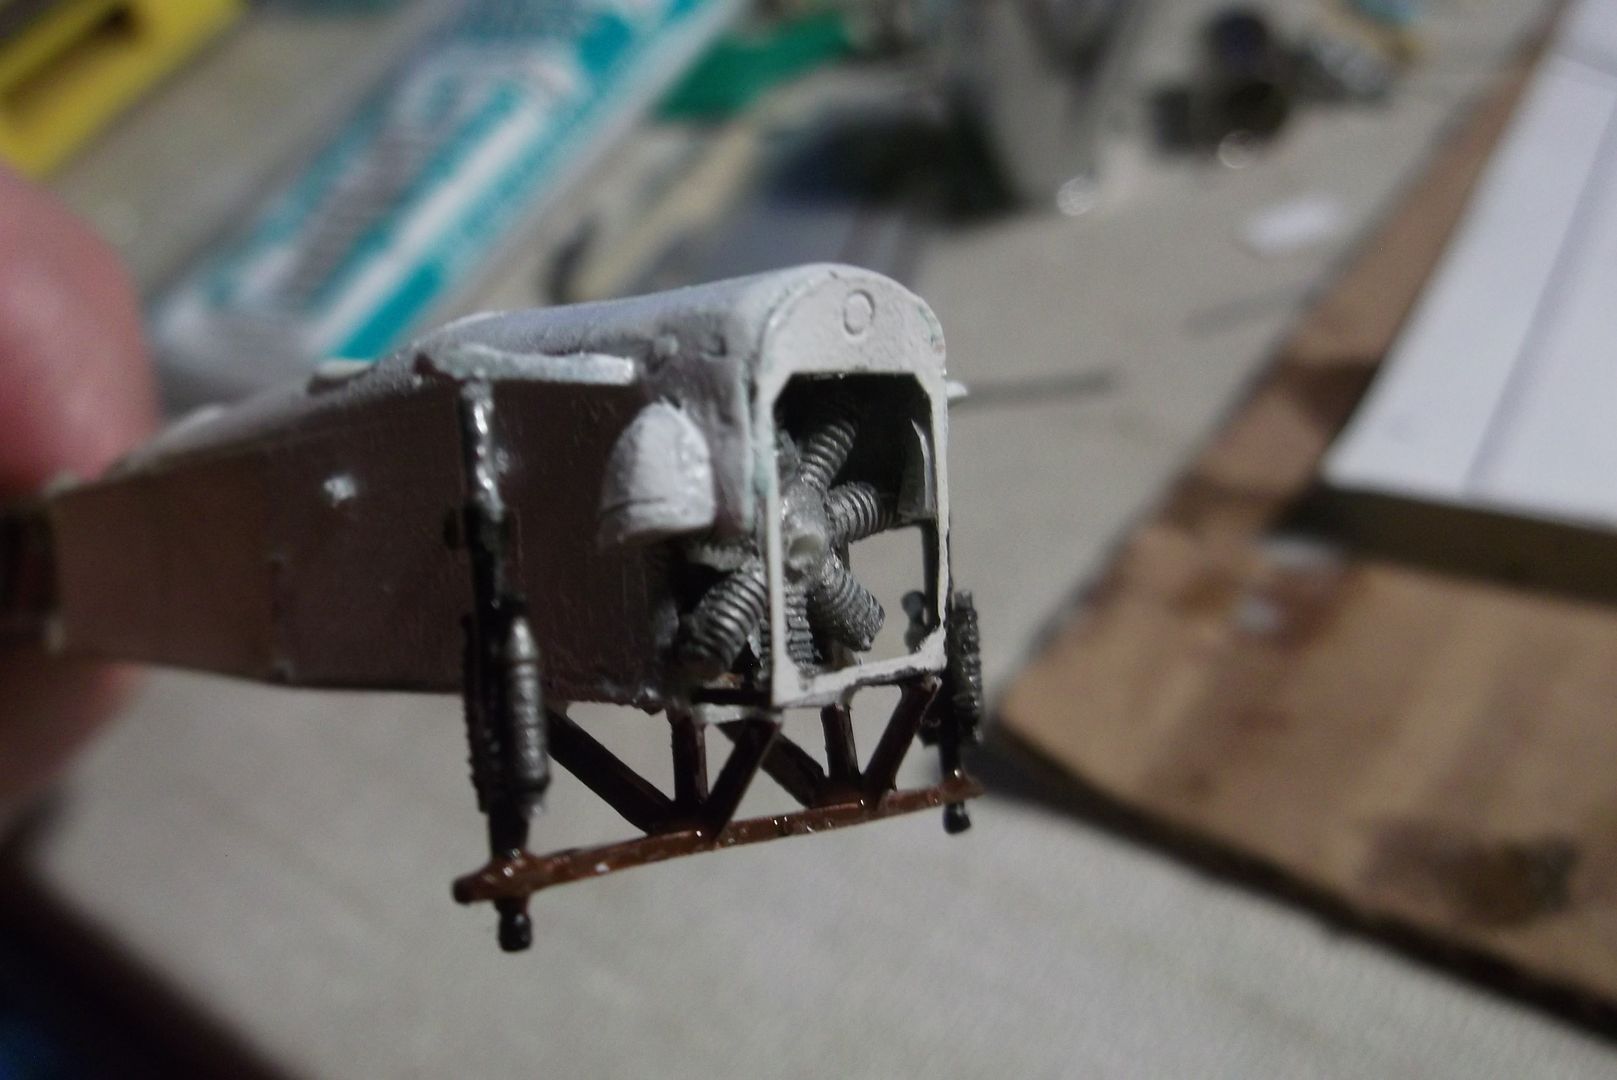 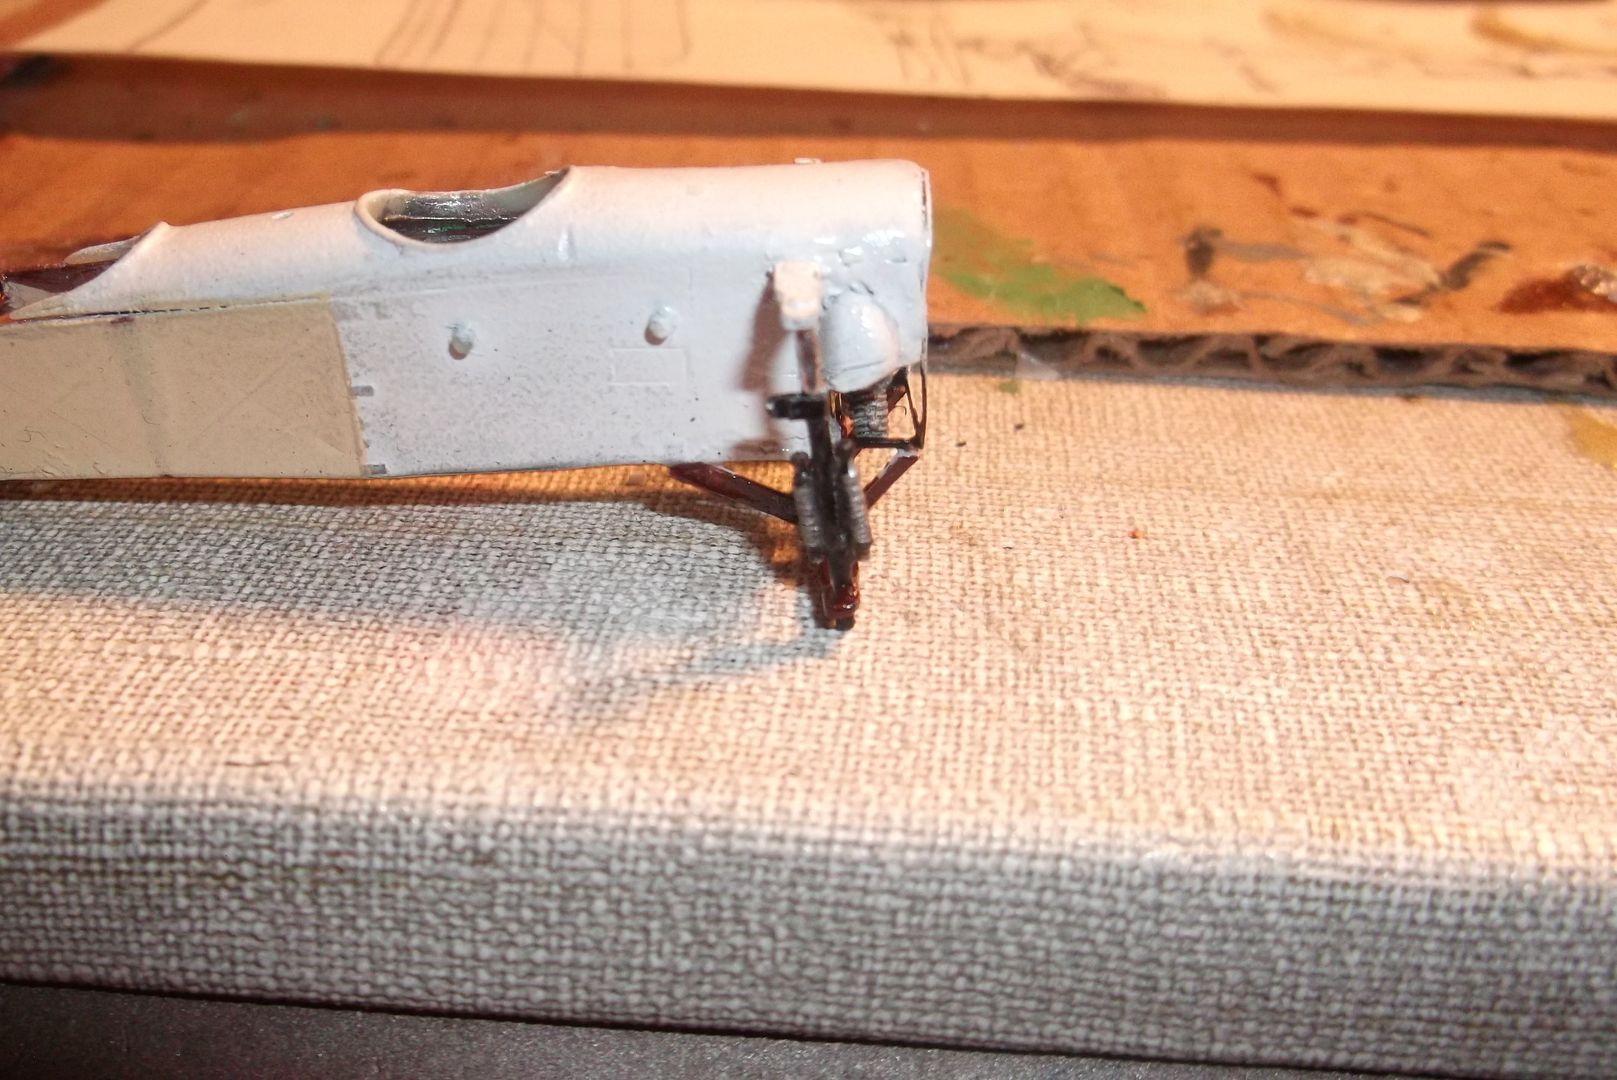 Next: The Wheels. This part is even more fun.
__________________
“Never do anything you can't take back.” —Rocky Russo |

|

|
 06-08-13, 12:38 PM
|
#95 |
|
Eternal Patrol
 |
Now the wheels are finished. The tires are resin, the spokes are an etched brass set that bends to shape and glues in, and the struts are thin steel rod. No, the wheels don't spin. That would have taken several hours more work, might not have worked anyway, and I need it to be strong.
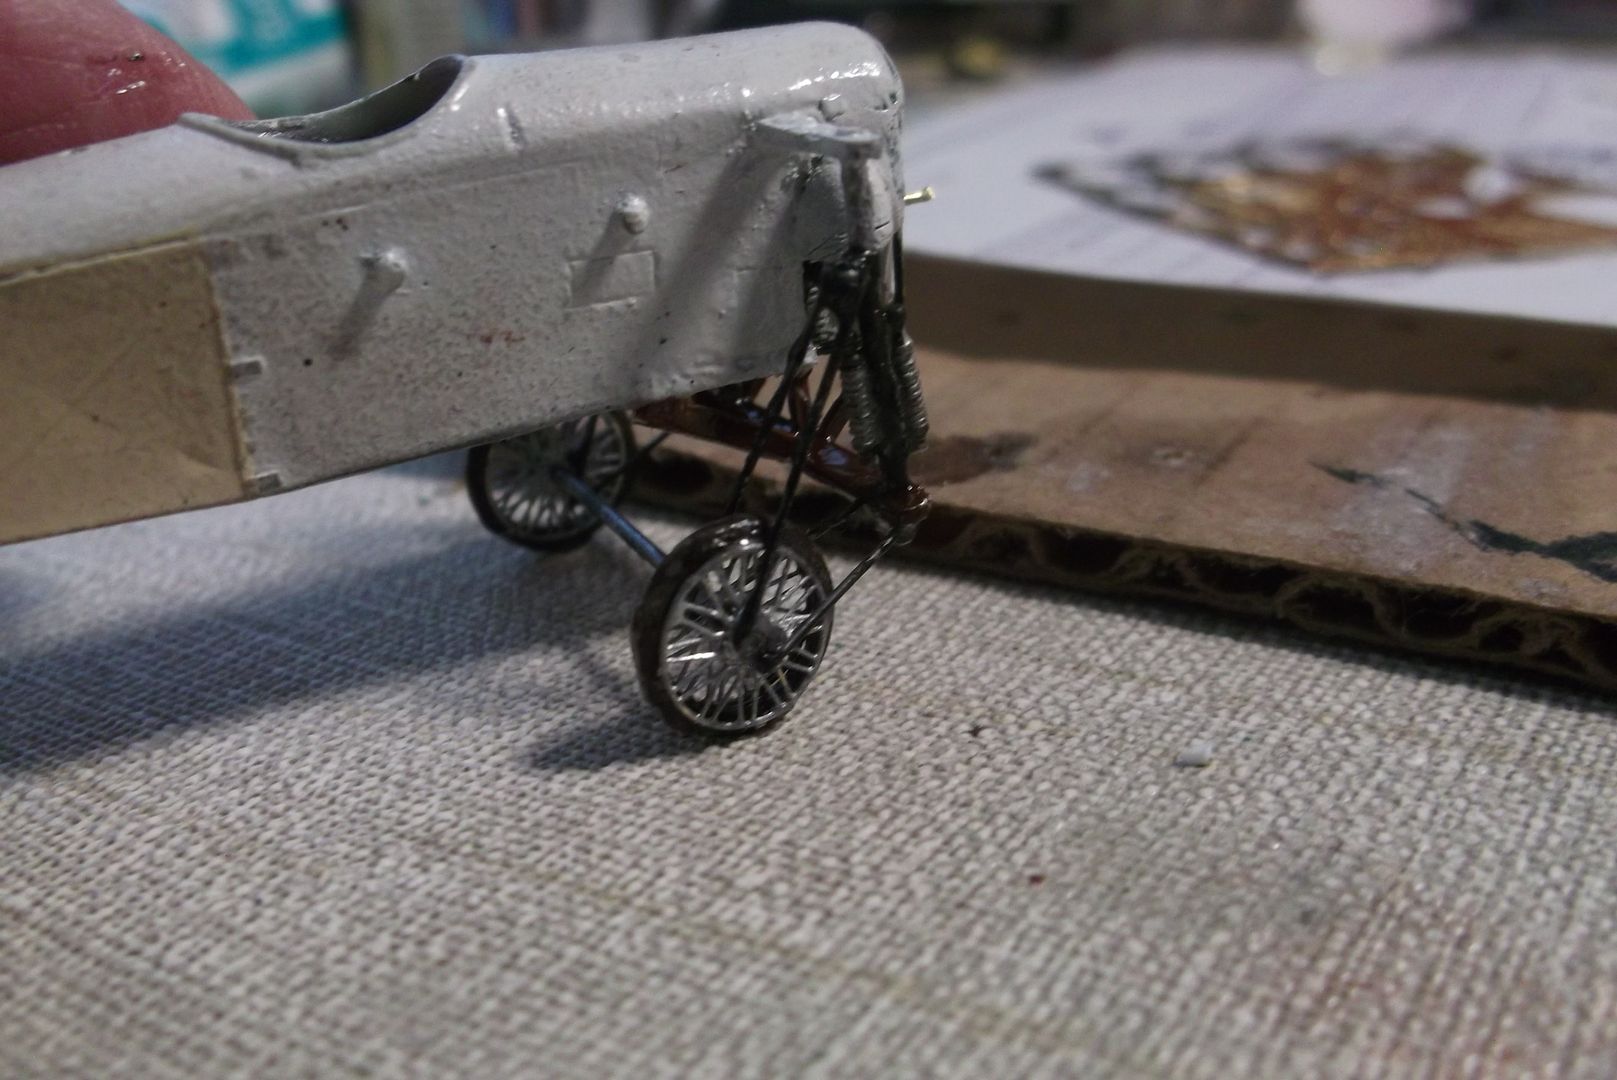 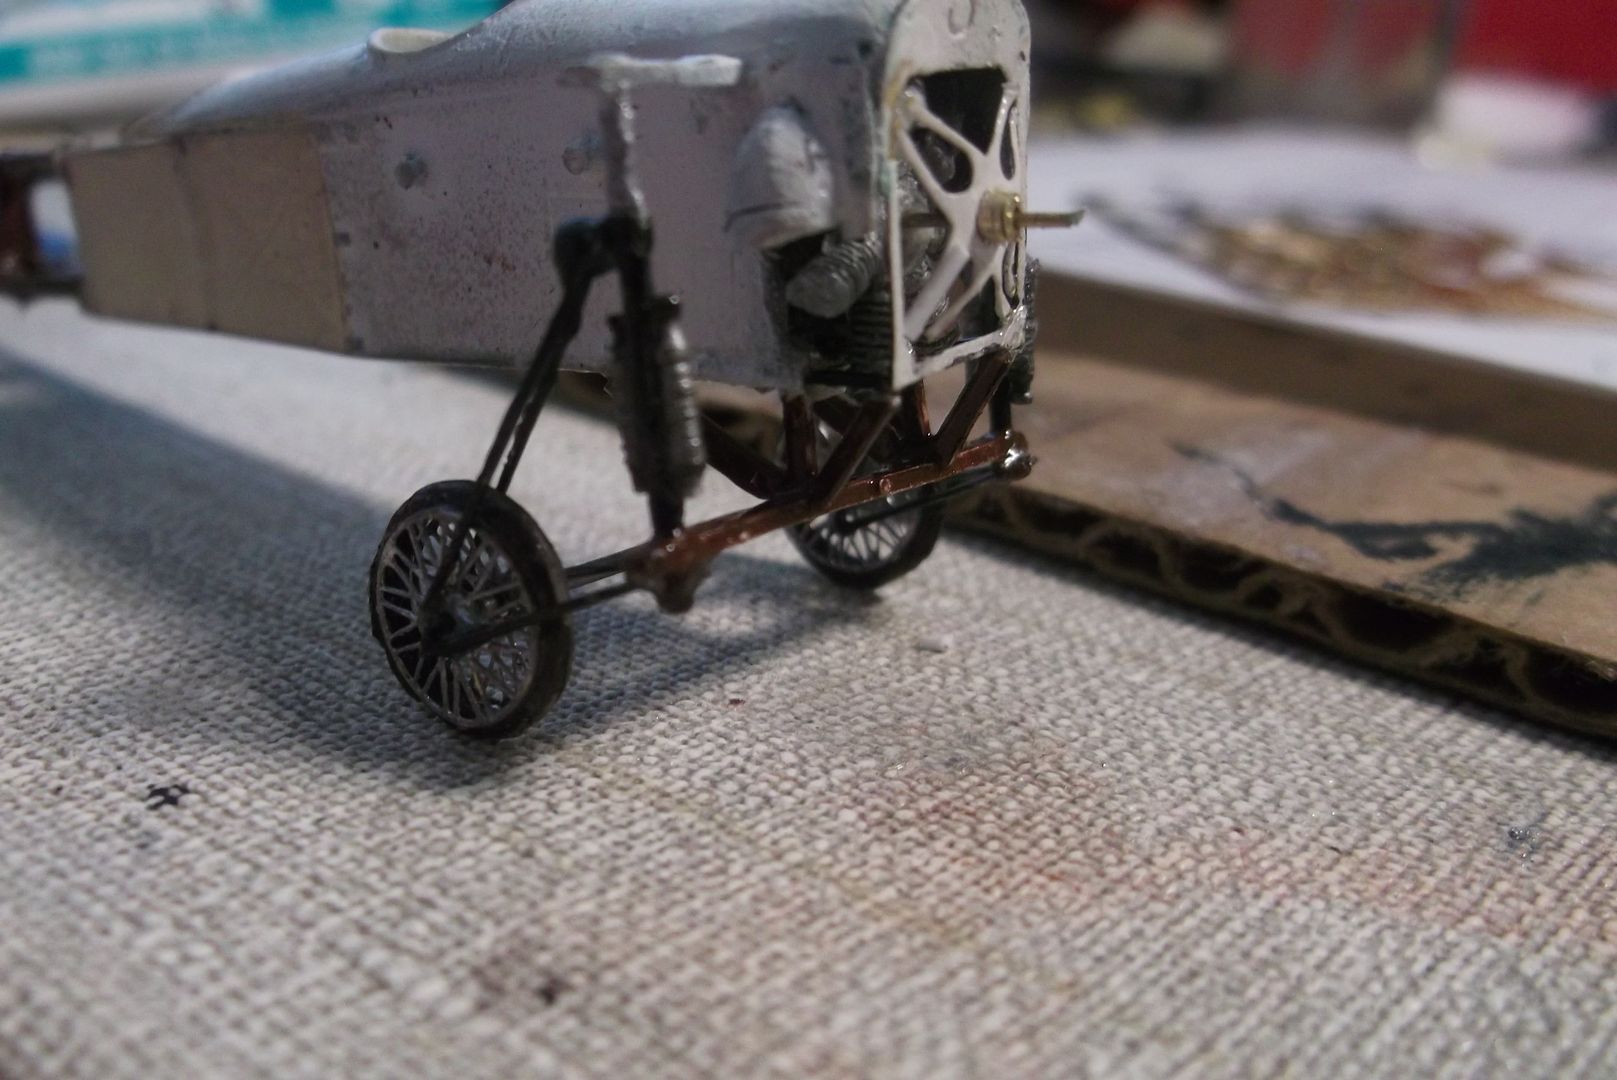 Since all this detail work meant a lot of handling, my shiny paint is now dirty and grungy, so my next step is to clean it, or maybe even touch up the paint. On the other hand rotary engines spewed oil like nobody's business, so I might leave it dirty. We'll see.
__________________
“Never do anything you can't take back.” —Rocky Russo |

|

|
 06-09-13, 06:07 PM
|
#96 |
|
Eternal Patrol
 |
NEW TOOLS!
 As stated earlier, one of the reasons I wanted to do the Italian version of the Bleriot is because of the bright colors. The tail and the underside of the wings were painted red, white and green. I found I had no red or green paint that wasn't dry from years in storage, so I had to make an unscheduled trip to the hobby shop on a Sunday, which is when I try not to go anywhere. While there I found something new. One of the problems with fine detail work is fine sanding. I have several grades of very fine grit sandpaper for that purpose, but even then it's difficult maneuvering around tiny spaces between tiny pieces. While at the shop I noticed that Squadron, one of the best suppliers of hobby stuff, makes sanding sticks! They look like nail files, but are made for fine sanding on models. They don't give actual grit numbers, which is bad, but the grades are: Coarse: For basic sanding Medium: For final sanding Fine: For smoothing Extra fine: For buffing Super extra fine: For who knows what, because they didn't have any, and although it's listed on the packaging it doesn't say what the purpose is. Anyway, I now have some extra cool tools to help out with the fine-point sanding. 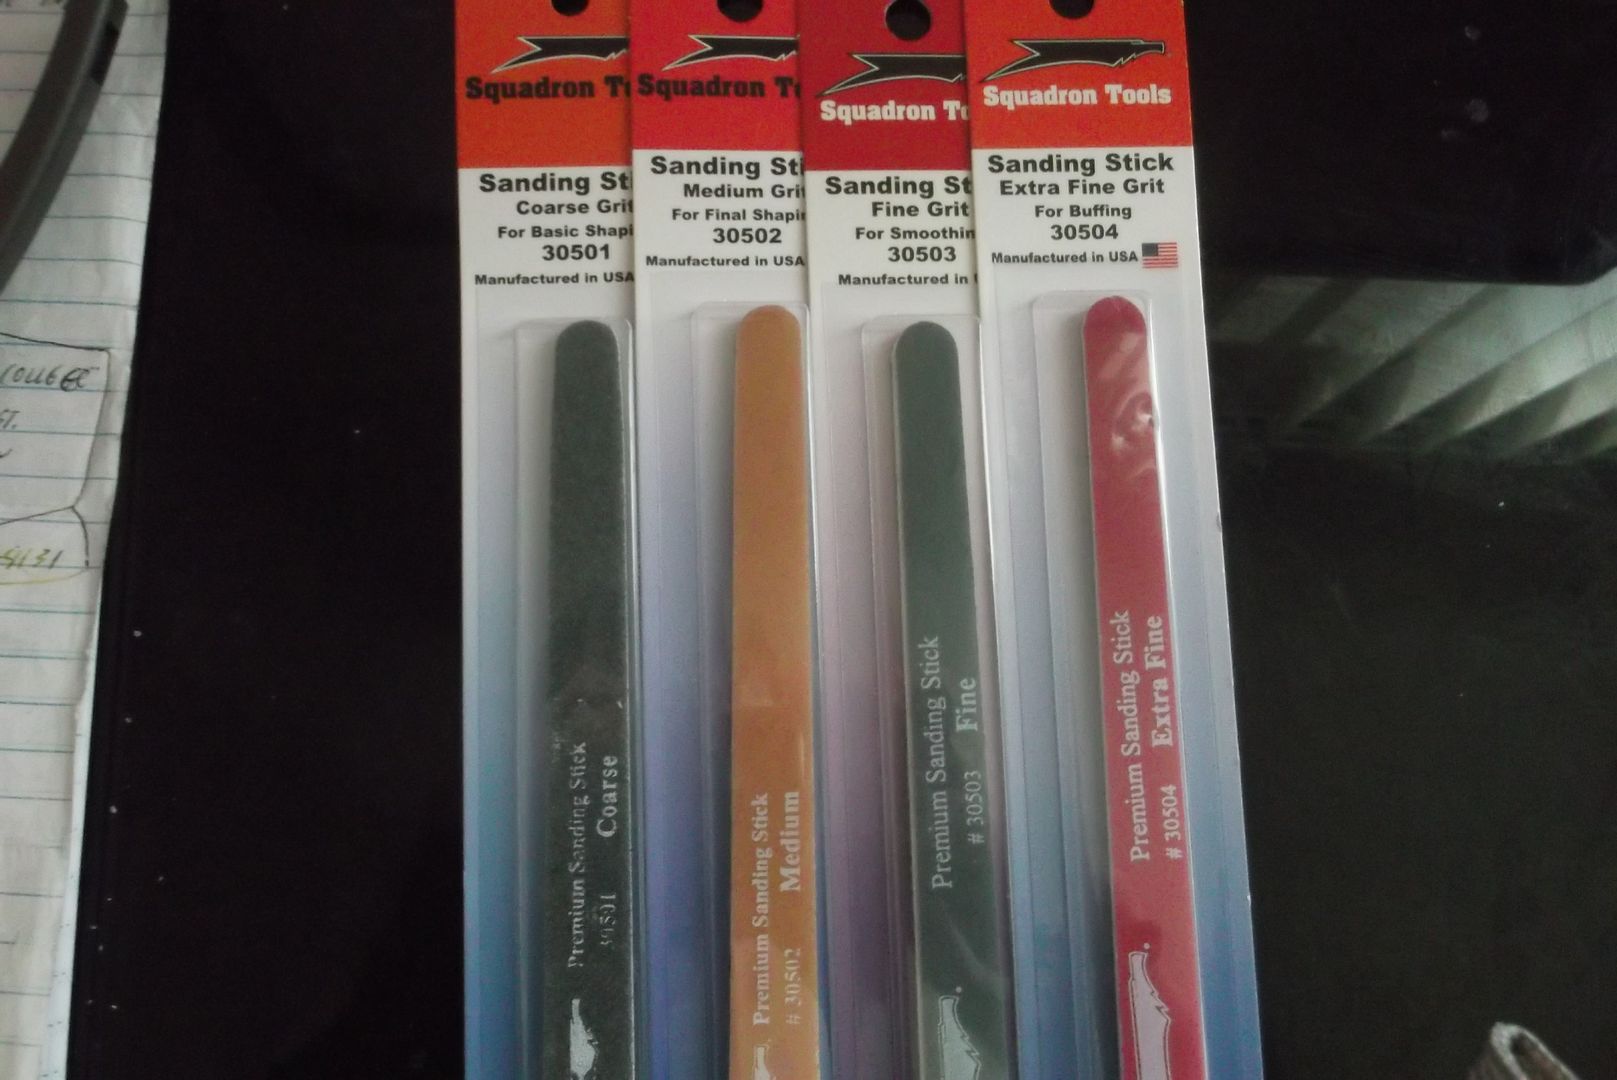
__________________
“Never do anything you can't take back.” —Rocky Russo |

|

|
 06-11-13, 09:08 AM
|
#97 |
|
Eternal Patrol
 |
I was about to go to bed at 22:00 last night when I decided I wanted to apply the tail decals. Then I decided to apply the fuselage markings, since that's all there are. Then I decided to build the rigging supports. Then it looked like the stabilizer and its supports would be an easy job. Then I thought "why not put the prop on now?" Then the tail decals were dry, so I installed the tail, ending up with something more or less resembling an airplane. Finally got to bed around midnight.
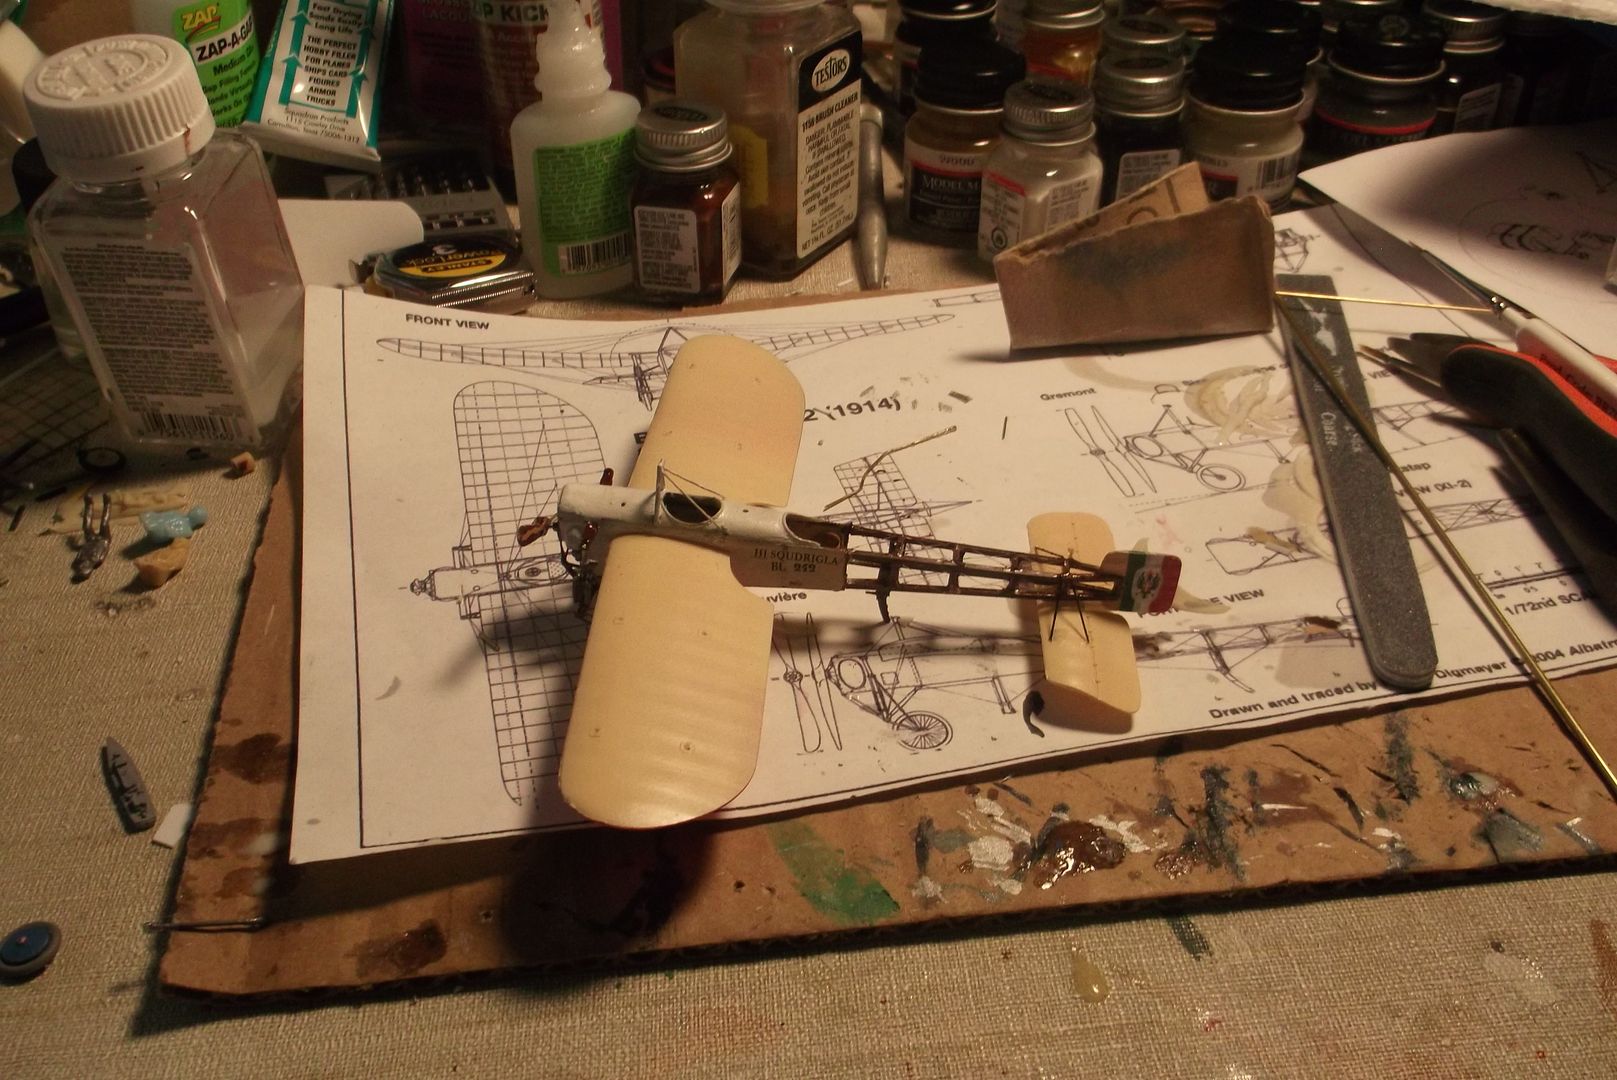 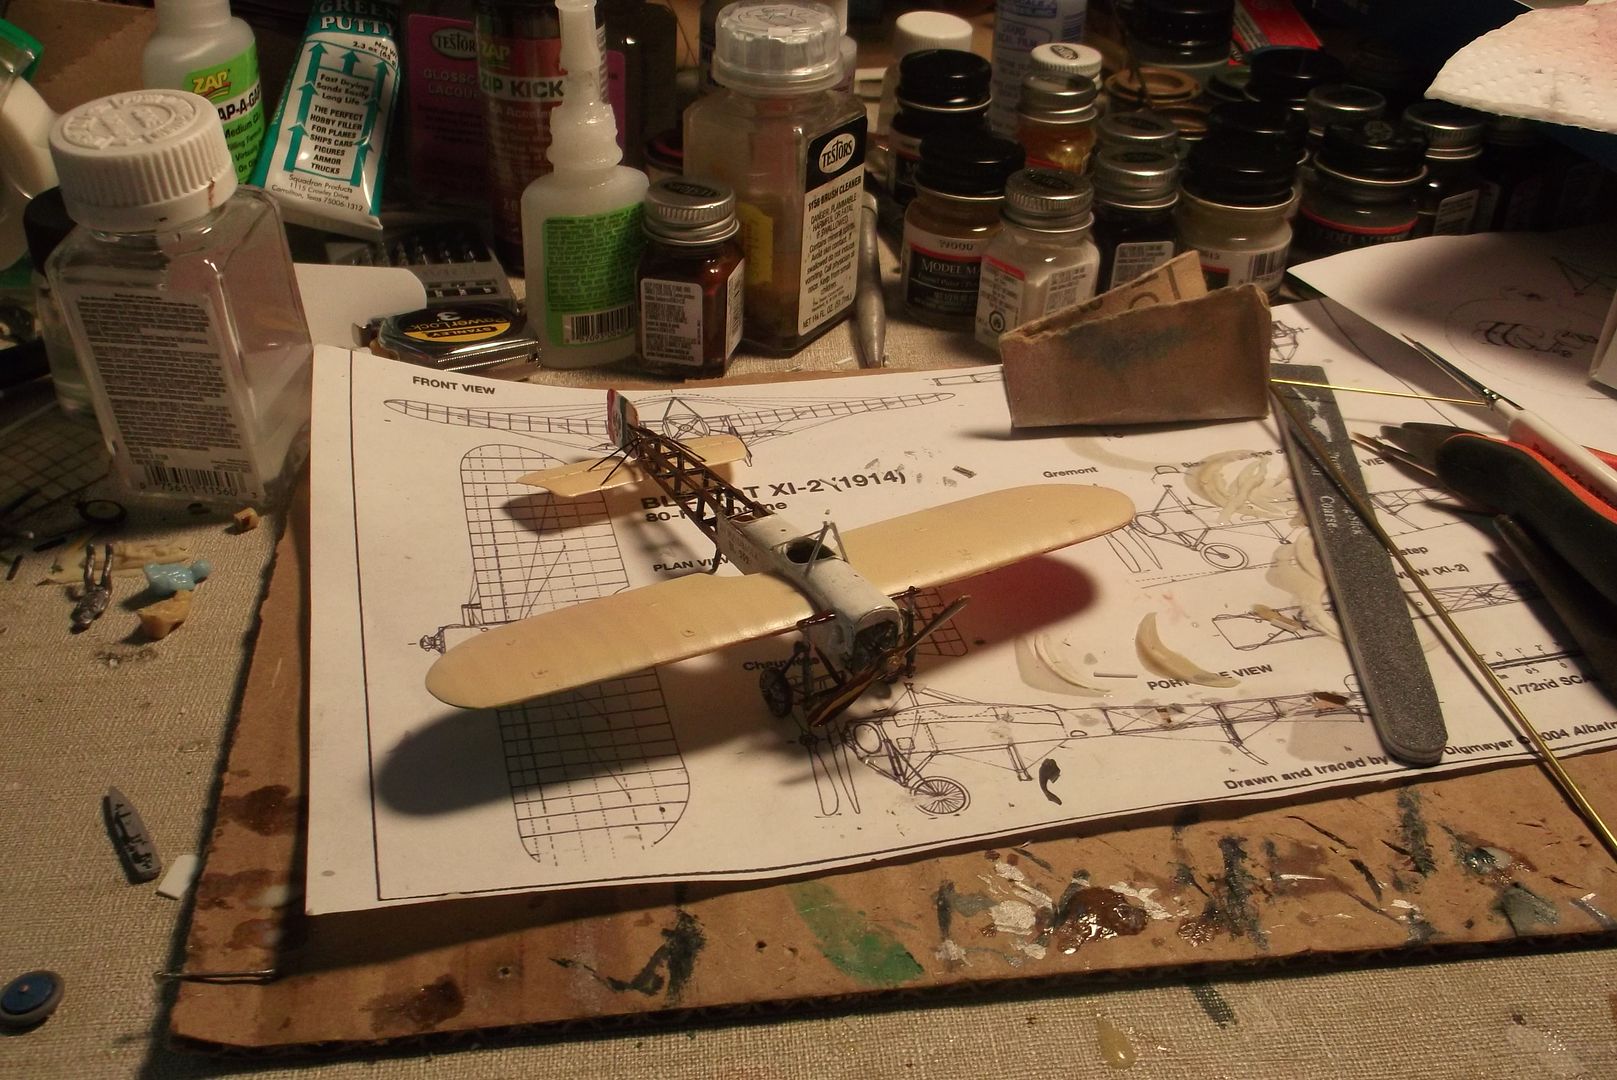 So now it's almost done. The pilots and the rigging are all that's left, except for figuring out where to mount the gaming tube. Normally it either glues to the underside of the fuselage or inside the fuselage with only a bit of it showing. There is no real fuselage, and it needs to be solid so inserting and removing the attachment pin won't break it off. We'll see how it goes.
__________________
“Never do anything you can't take back.” —Rocky Russo |

|

|
 06-13-13, 01:41 PM
|
#98 |
|
Eternal Patrol
 |
DONE! Done done done!
Yesterday I did the pilots and then the main bracing, which on a sailing ship would be called the "standing rigging". The metal braces for the control wires were themselves braced with wire. Today came the control wires themselves - the "running rigging". After that a tiny bit of touch-up paint and it's ready for the game stand. 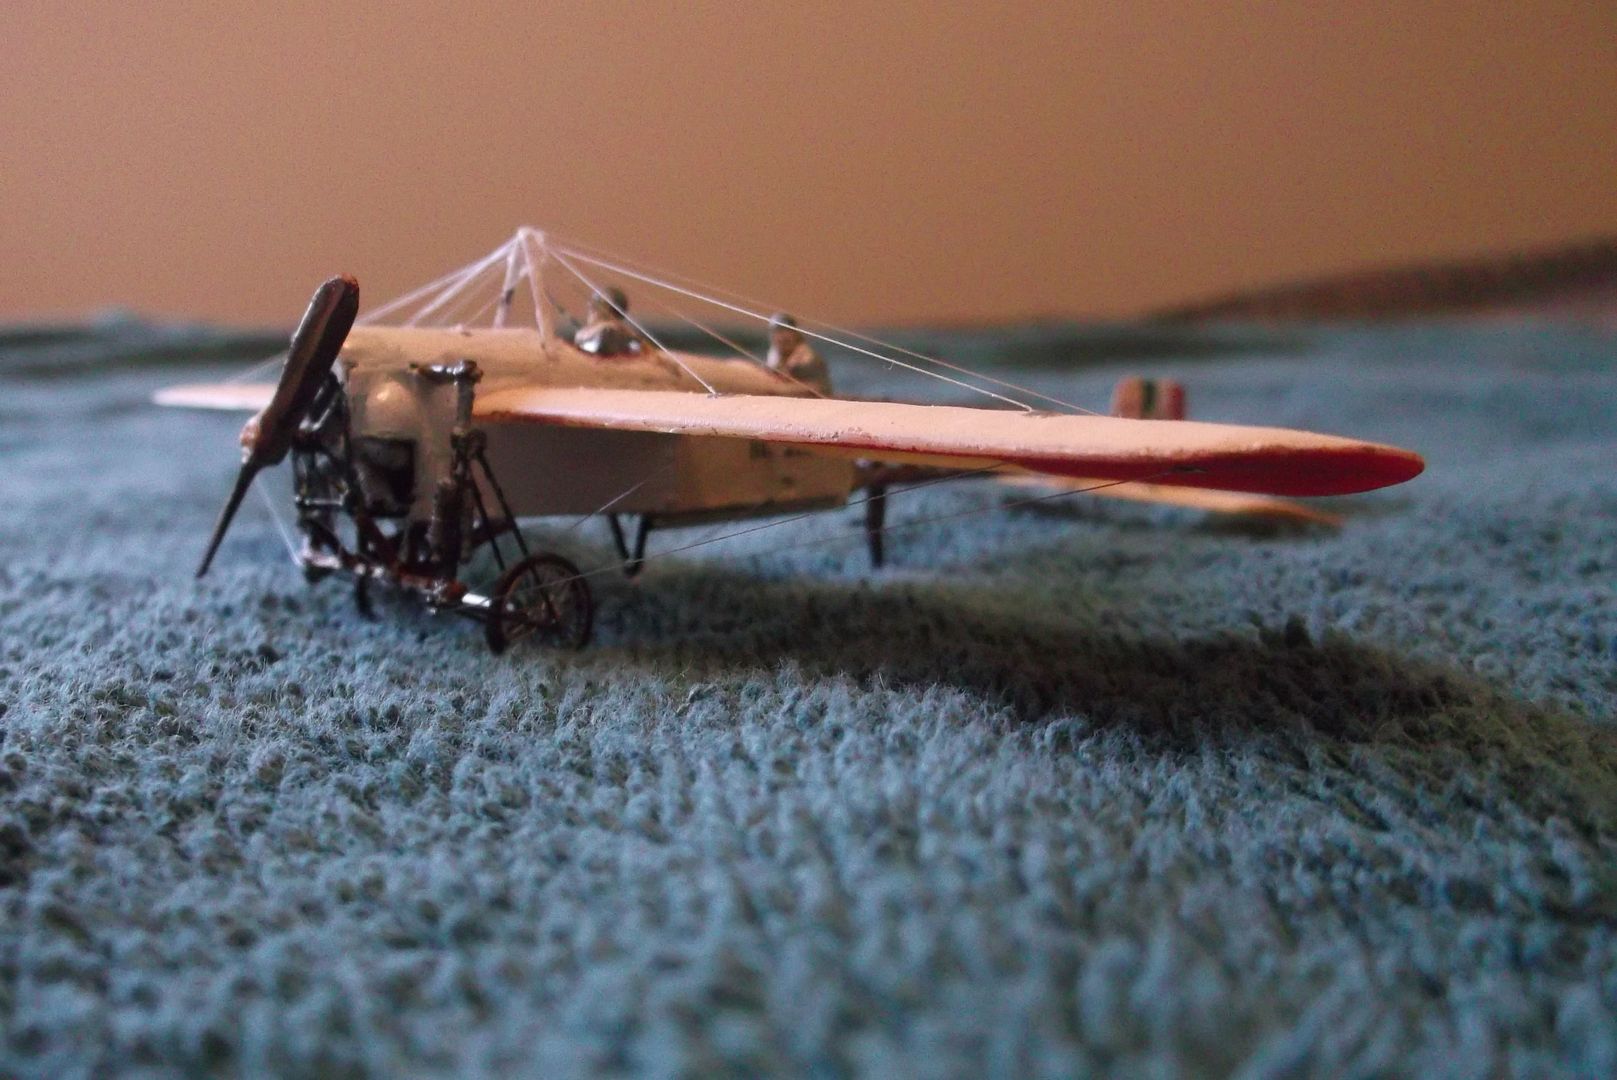 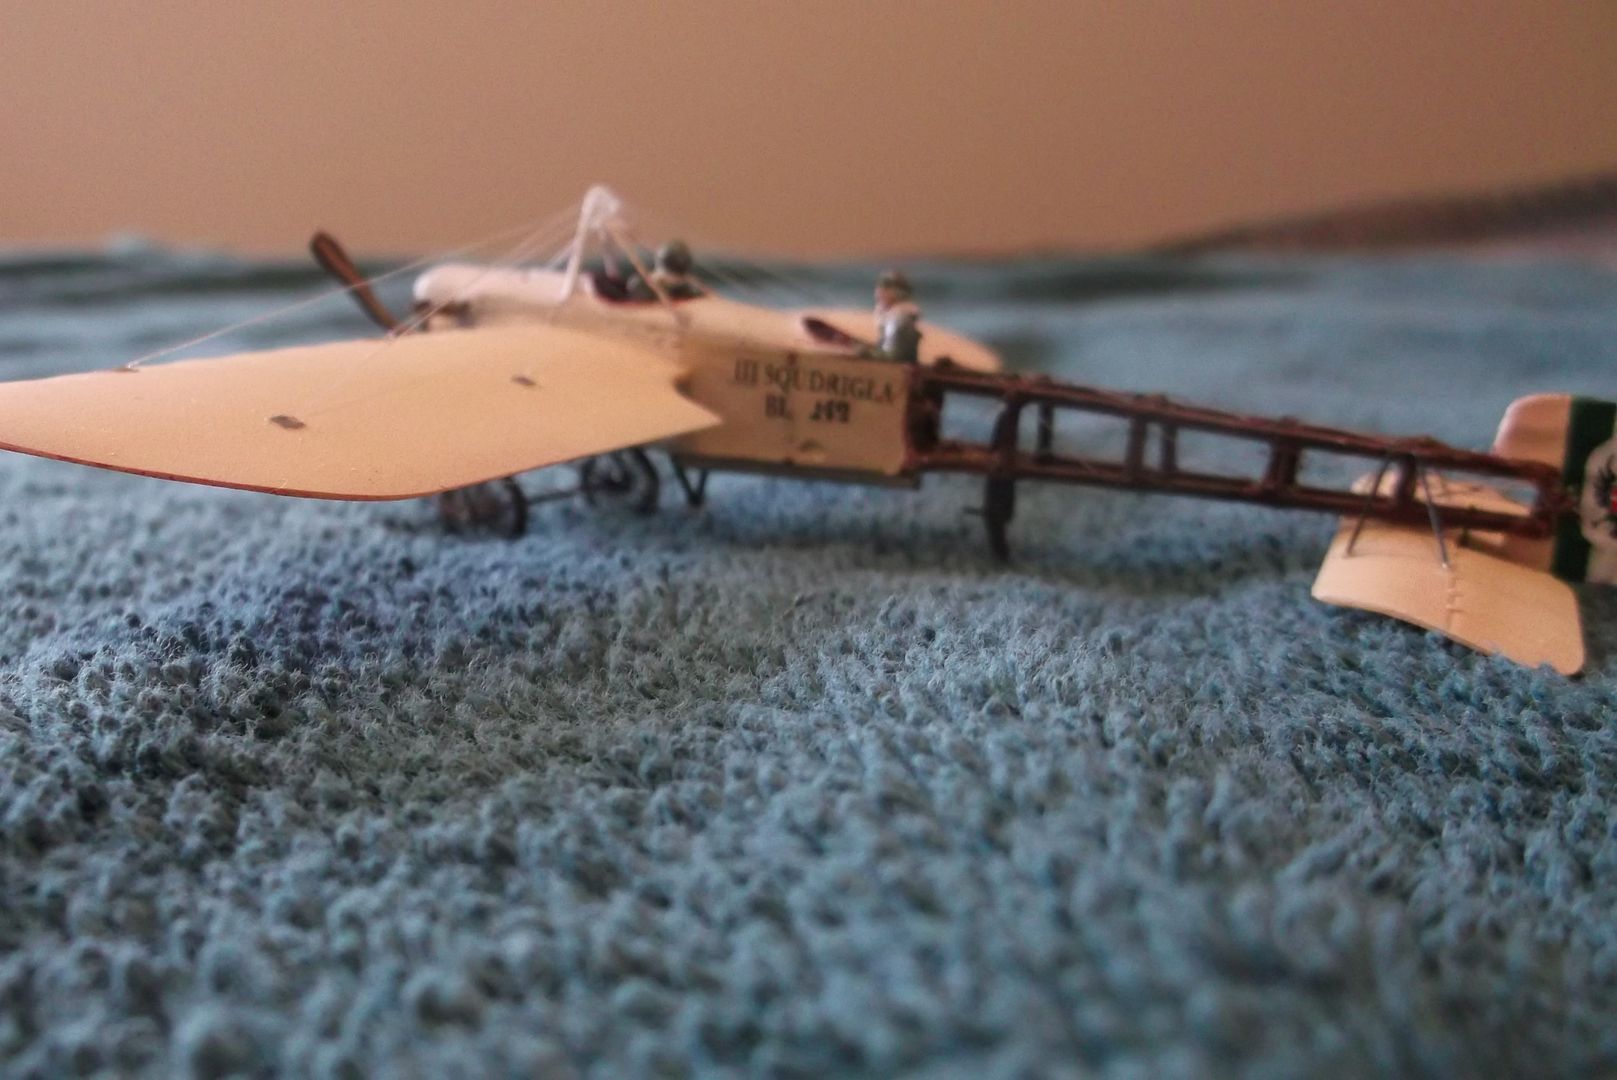 A closeup of the tail, showing the Italian national emblem. What is hard to see is the elevator and rudder control horns, which have wires running to them and through the top and bottom rear corners of the rudder. 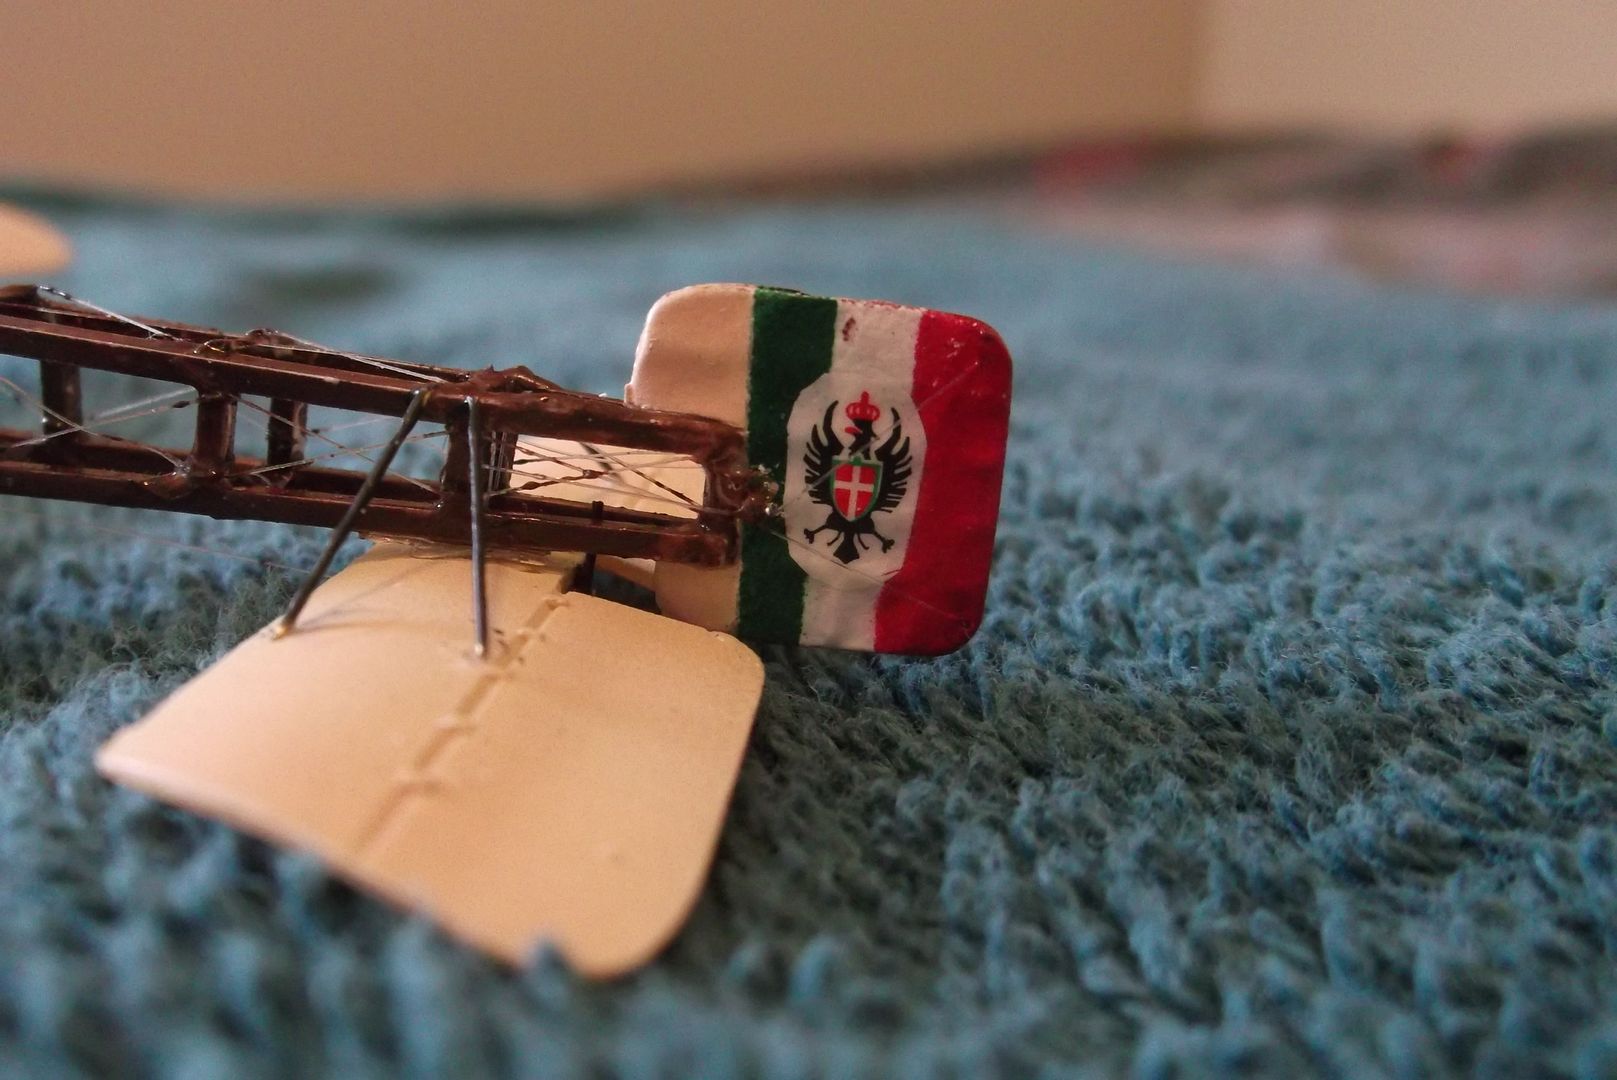 Top view. 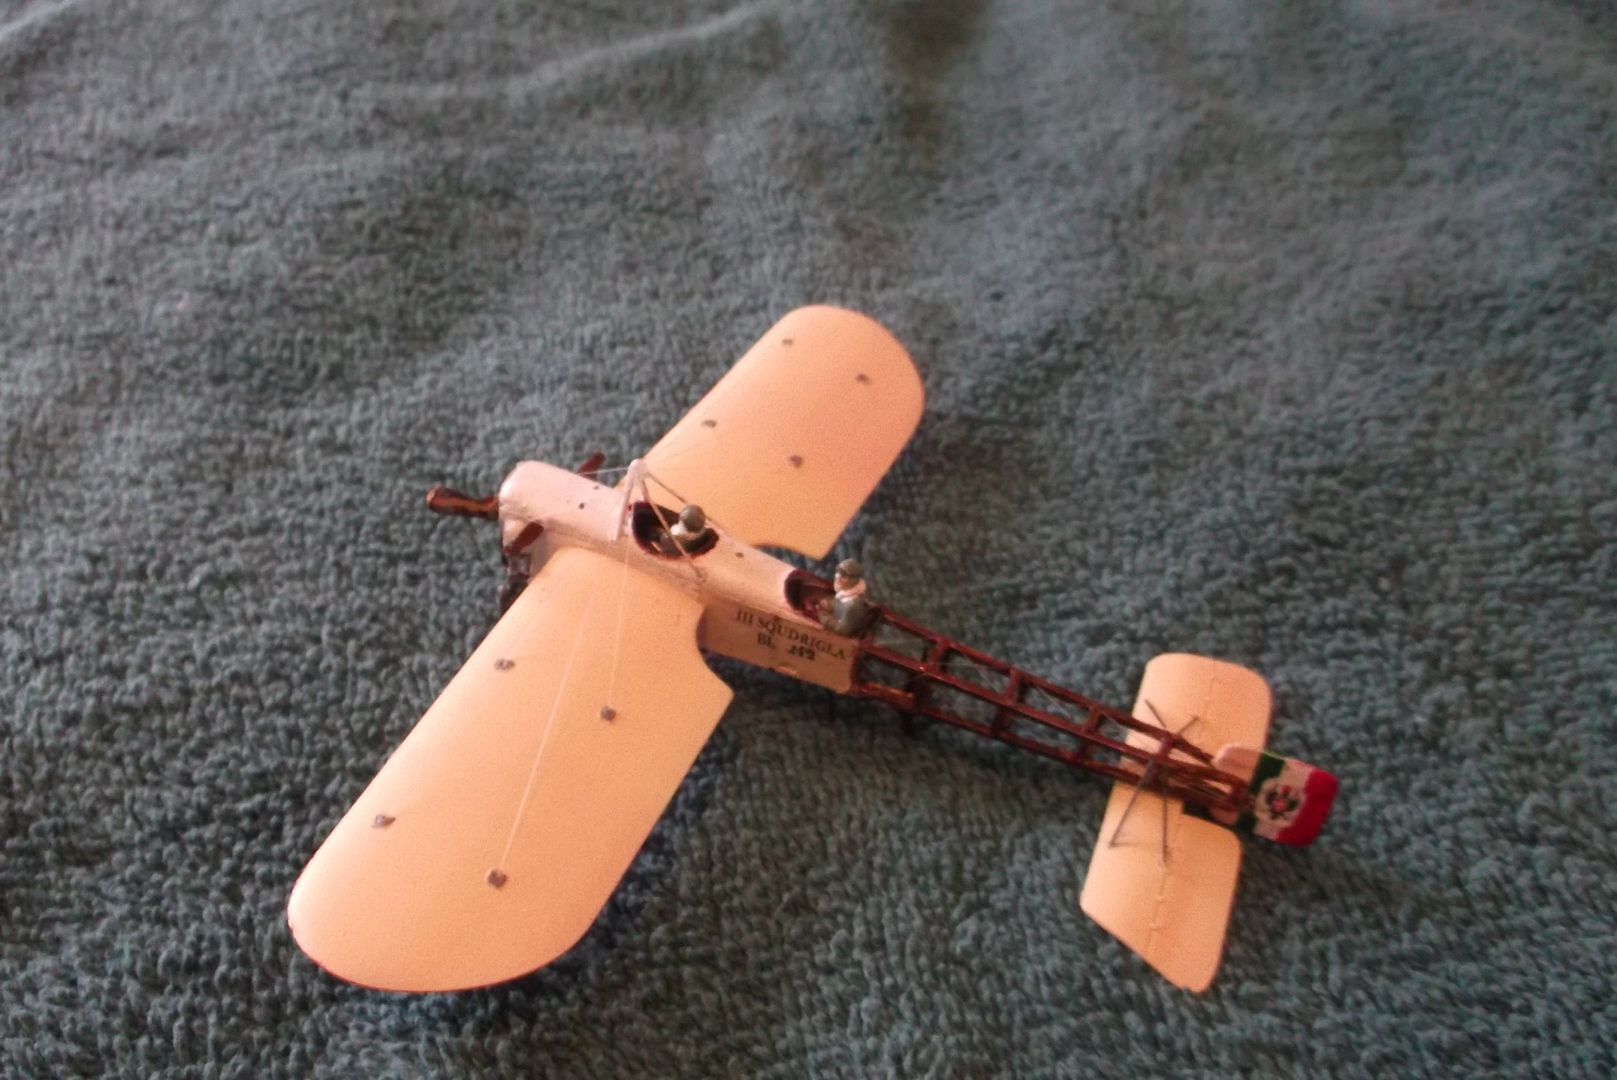 Bottom view, showing the red and green national colors. I checked several sources, but it seems the middle part of the wing was left clear-doped linen, rather than painted white like the fuselage. 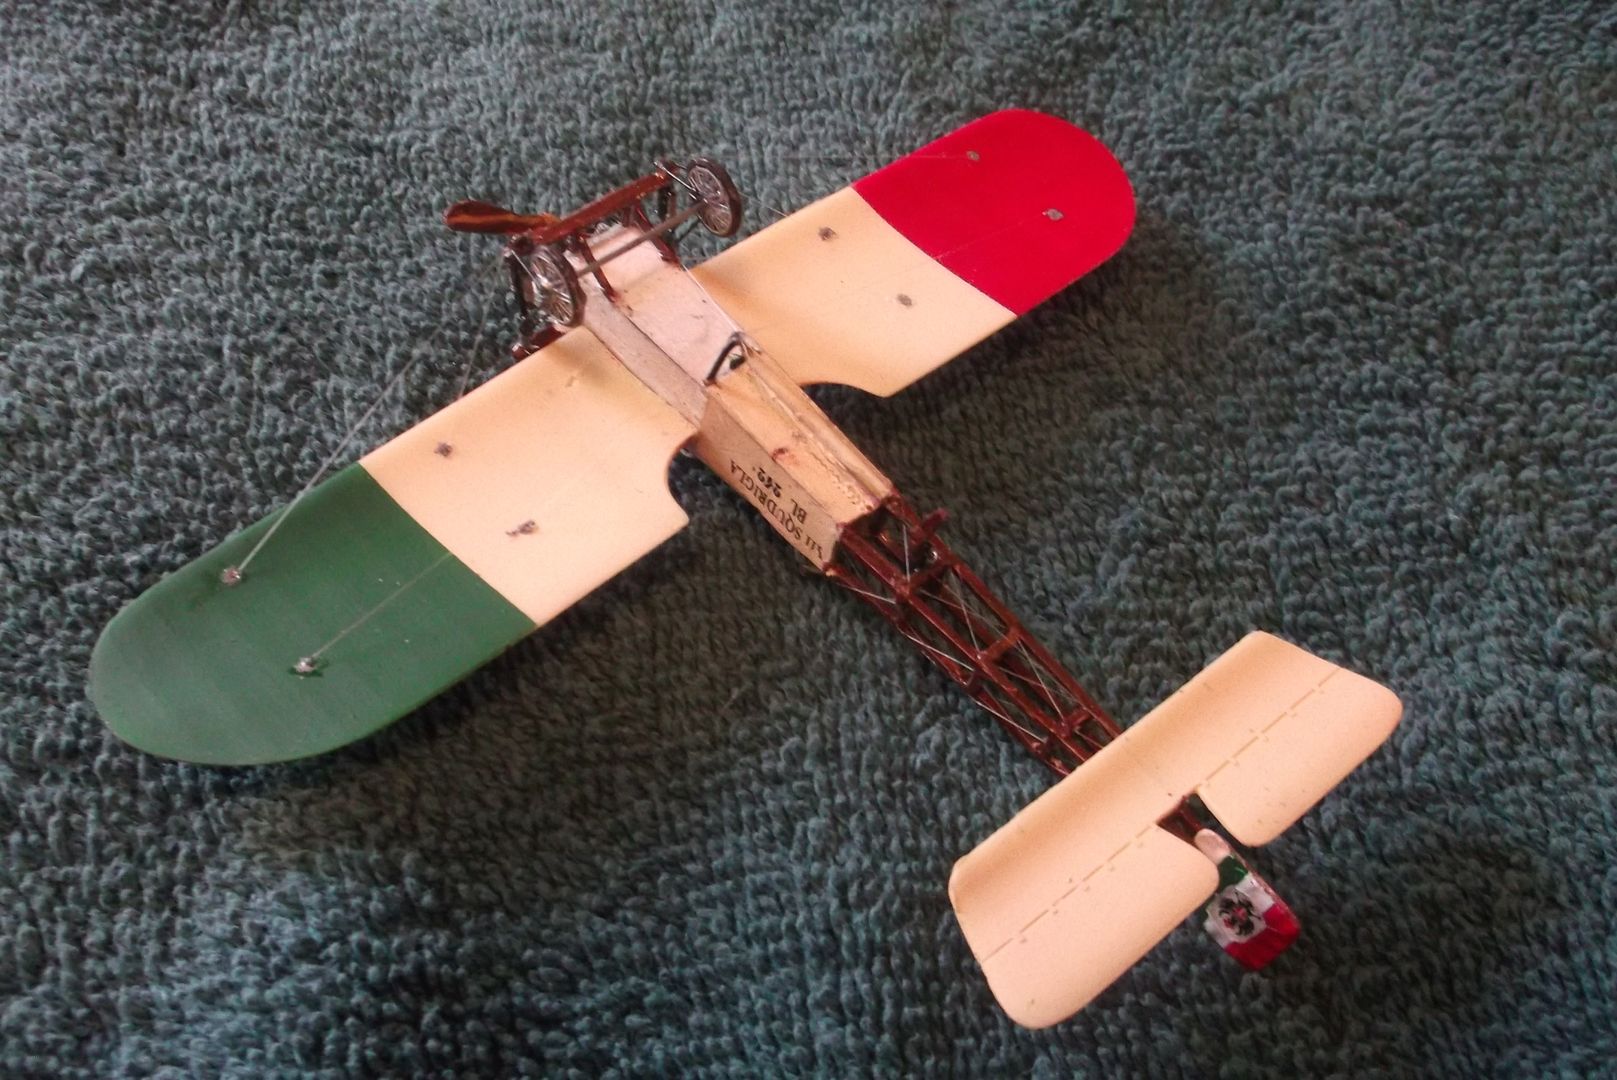 Close-up views show that the model is nowhere near contest quality. That would have taken twice the time for a toy that is going to be handled a lot and spend most of its life in a suitcase packed in foam.  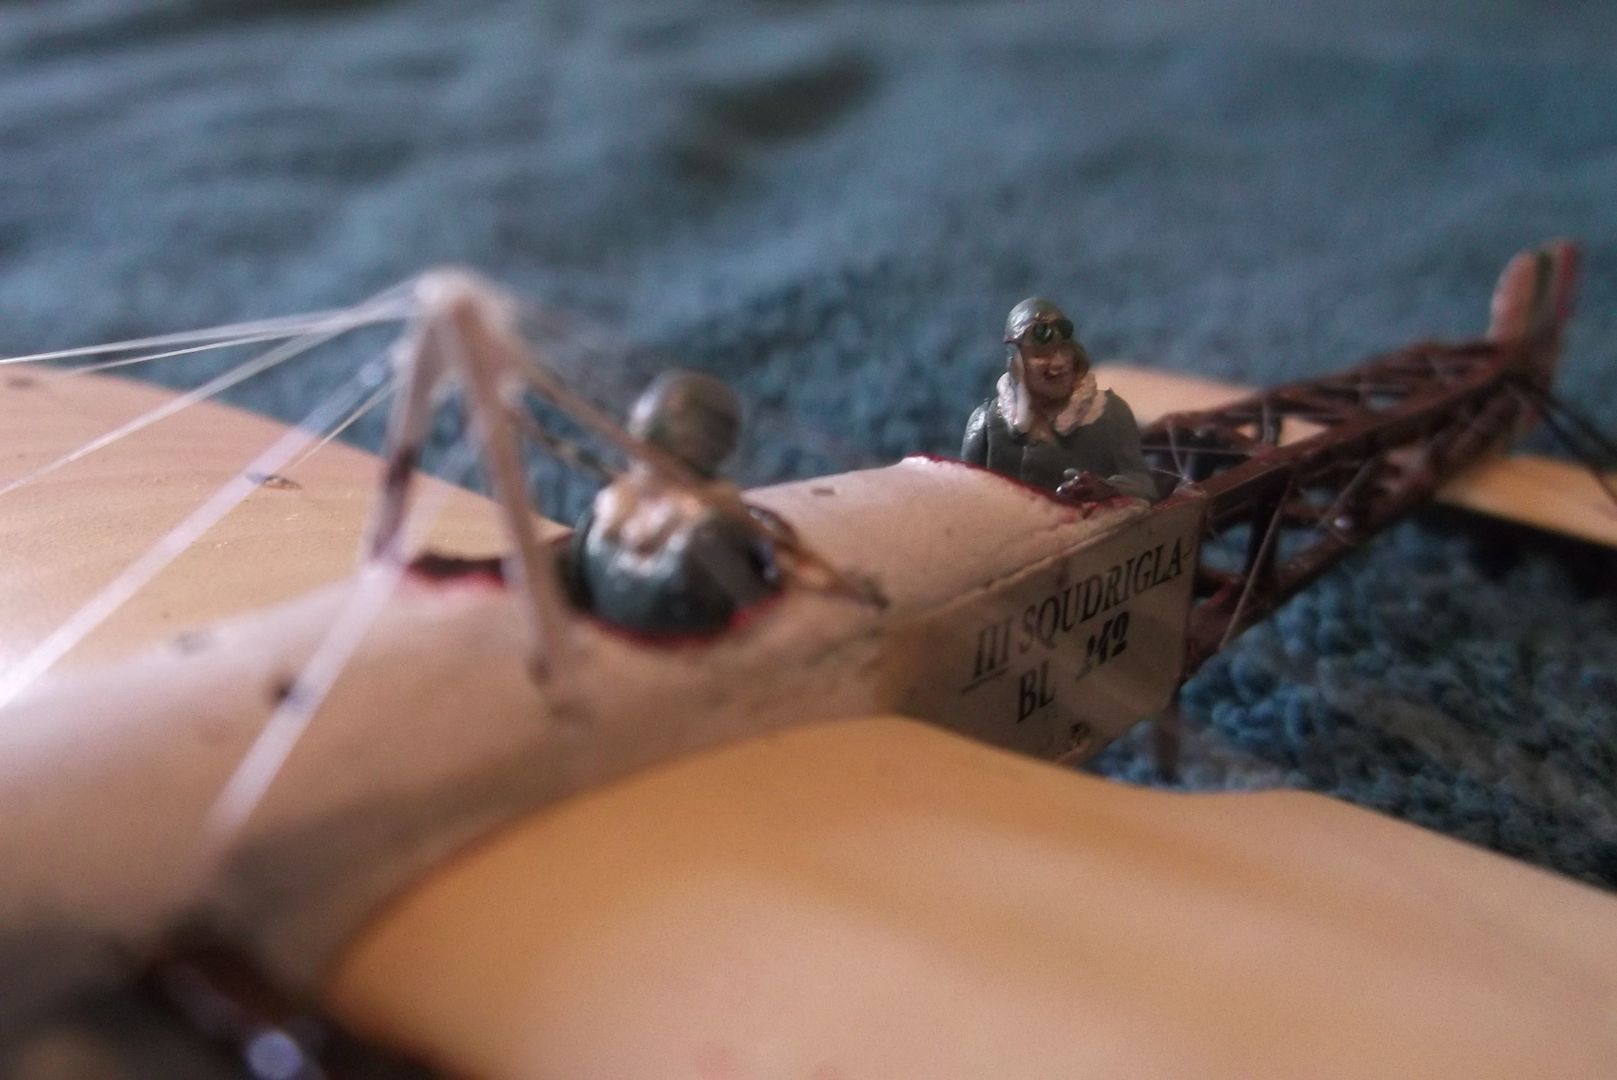 I also wish I could have drawn straight lines, since the resin wings are thin enough that you can see through them. I would love to have added the wing spars and ribs, but I just couldn't get it right. Still, I'm happy with it as it is. It will look good on the stand pretending to be a real airplane.
__________________
“Never do anything you can't take back.” —Rocky Russo |

|

|
 06-13-13, 03:19 PM
|
#99 |
|
Old enough to know better
|
Super job Steve. You have great patience and attention to detail. Impressive.

__________________
“Two possibilities exist: either we are alone in the Universe or we are not. Both are equally terrifying.” ― Arthur C. Clarke 
|

|

|
 06-16-13, 02:54 PM
|
#100 |
|
Chief of the Boat
|
Coming along nicely
__________________
Wise men speak because they have something to say; Fools because they have to say something.
Oh my God, not again!!  GWX3.0 Download Page - Donation/instant access to GWX (Help SubSim) |

|

|
 06-21-13, 03:42 PM
|
#101 |
|
Eternal Patrol
 |
Well, I've been messing around for more than a week, working hard at getting nothing done. I've been down with allergies most of the time, but I'm still trying to make myself do something. I wanted to paint some more ships for my game, but I just couldn't seem to get started. I wanted to start the next plane, but I kept telling myself I should do some ships first. But I didn't really want to do some ships. But I refused to start the next plane until I had some ships done. So I watched a lot of videos instead.
Finally two days ago I assembled another class of ships, meaning to paint them yesterday and start my next plane today. It didn't happen that way, so today I just opened the other model from Poland and got ready to start building. Caudron G.III Box  Kit 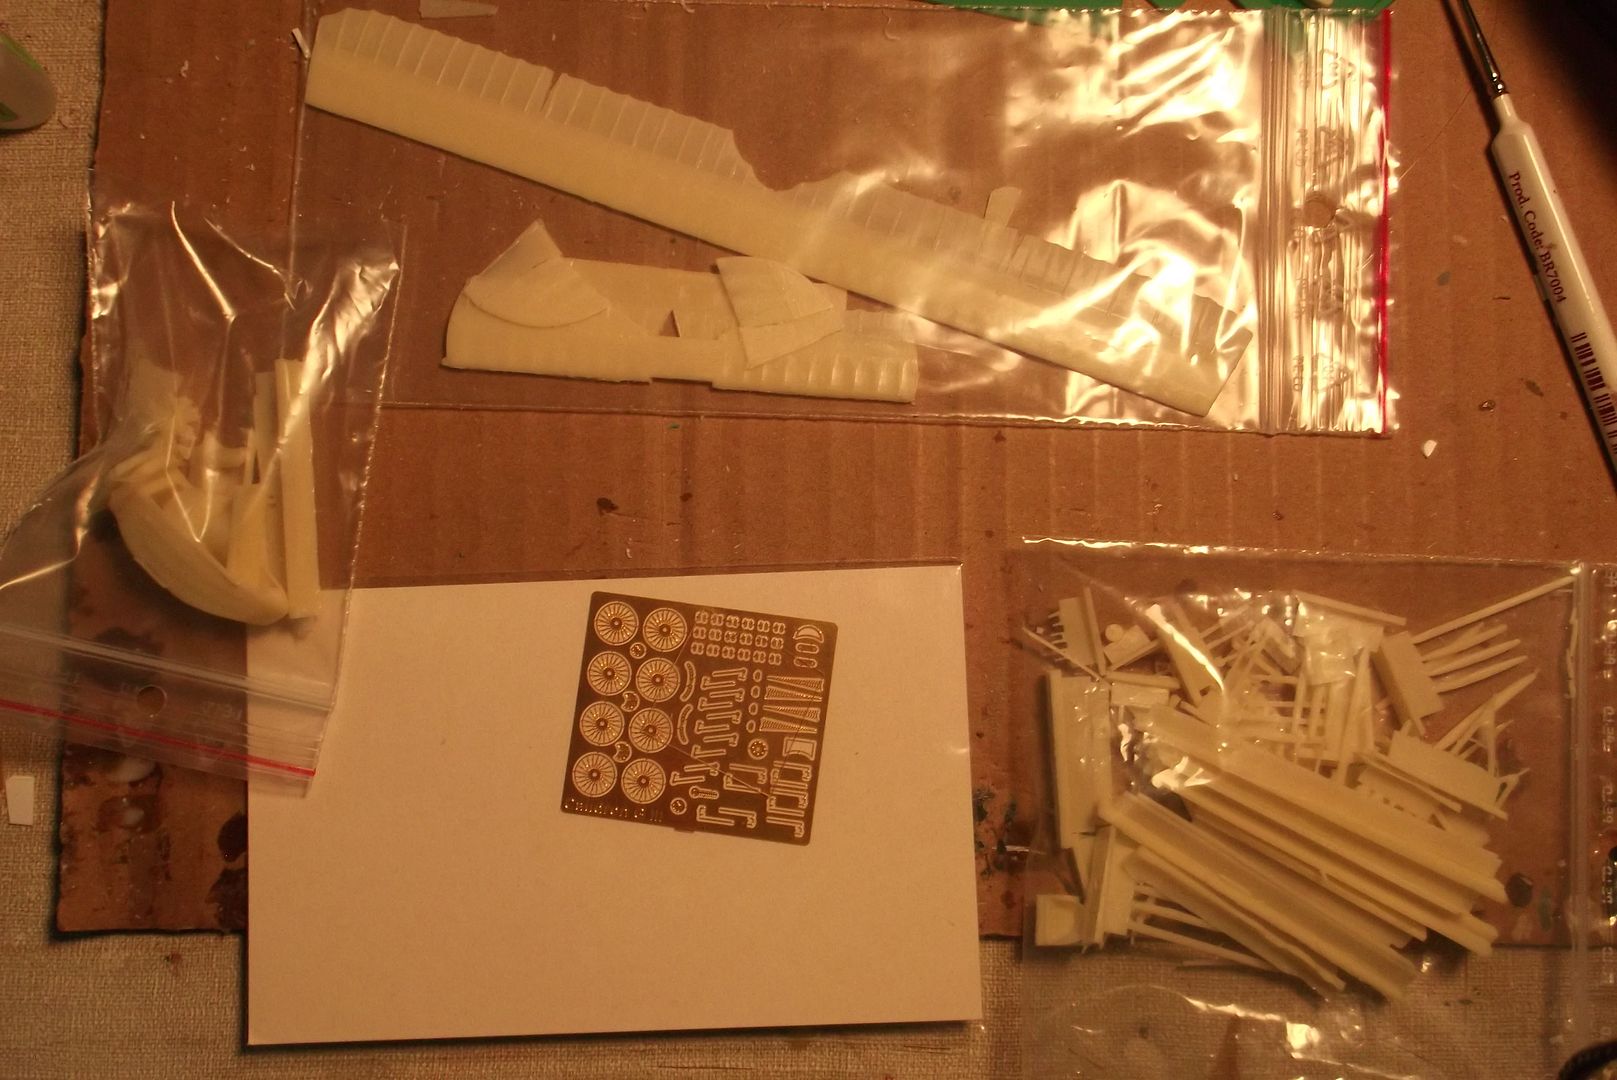
__________________
“Never do anything you can't take back.” —Rocky Russo |

|

|
 06-21-13, 03:47 PM
|
#102 | |
|
Airplane Nerd
|
Quote:
 I still have yet to get a kit of something. 
__________________

|
|

|

|
 06-21-13, 04:21 PM
|
#103 |
|
Eternal Patrol
 |
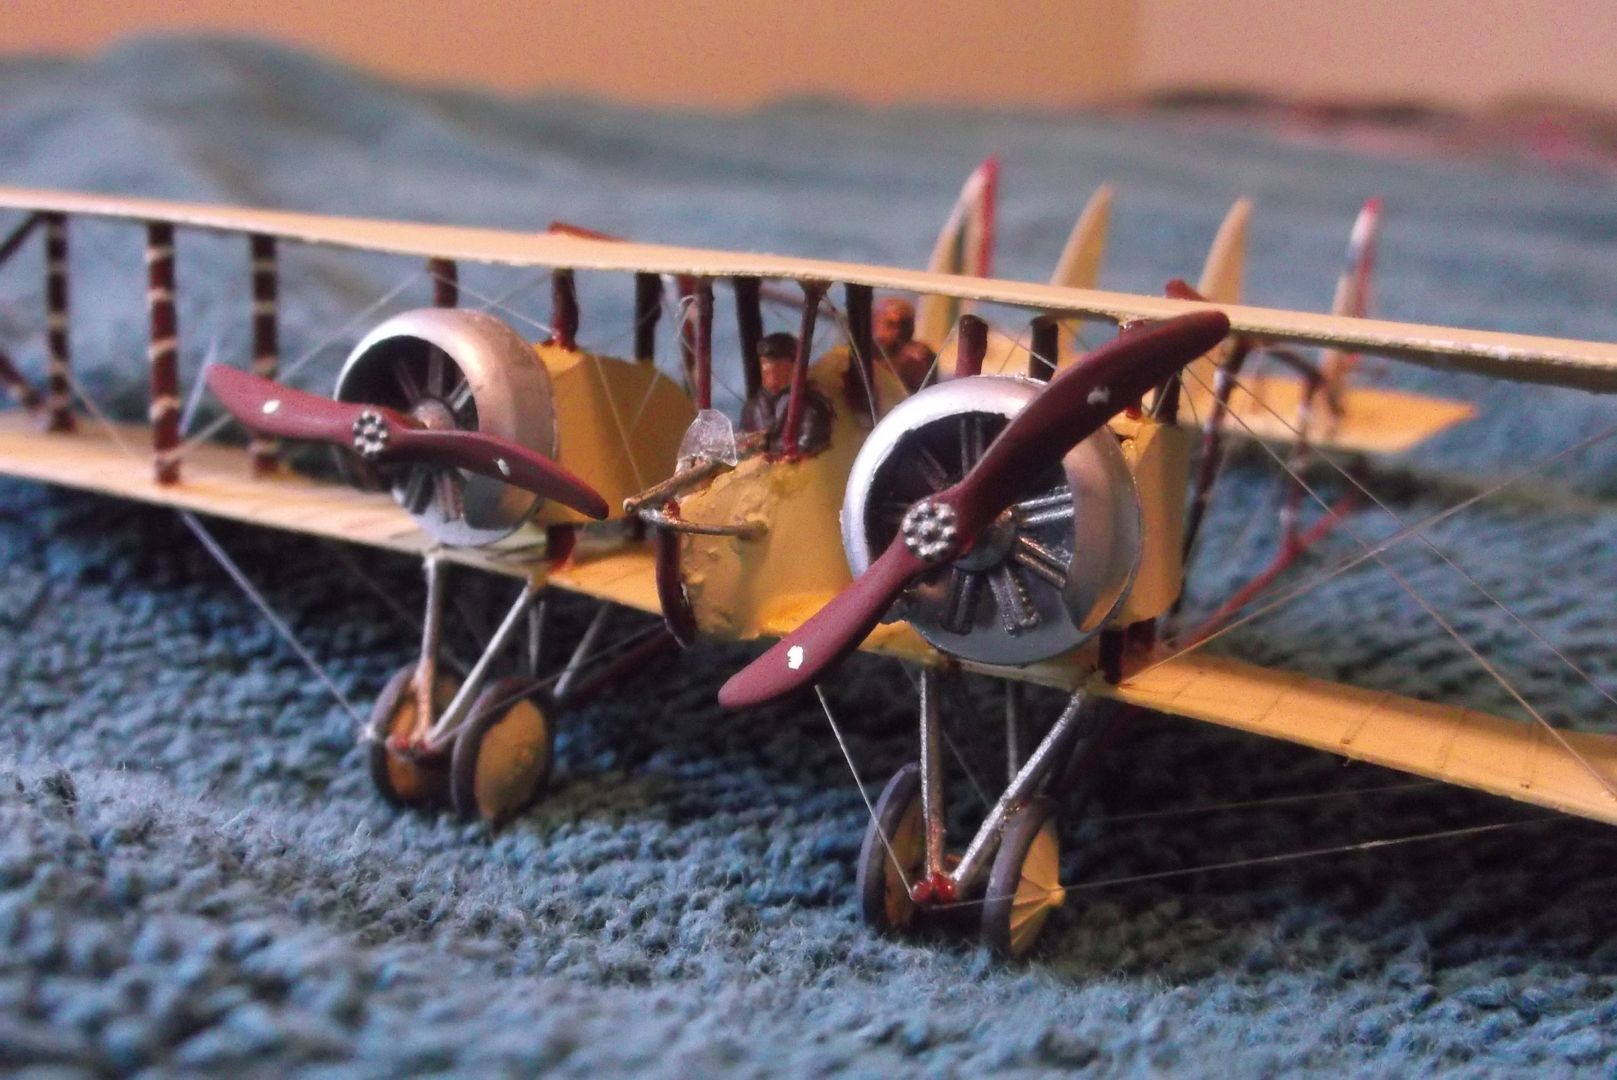
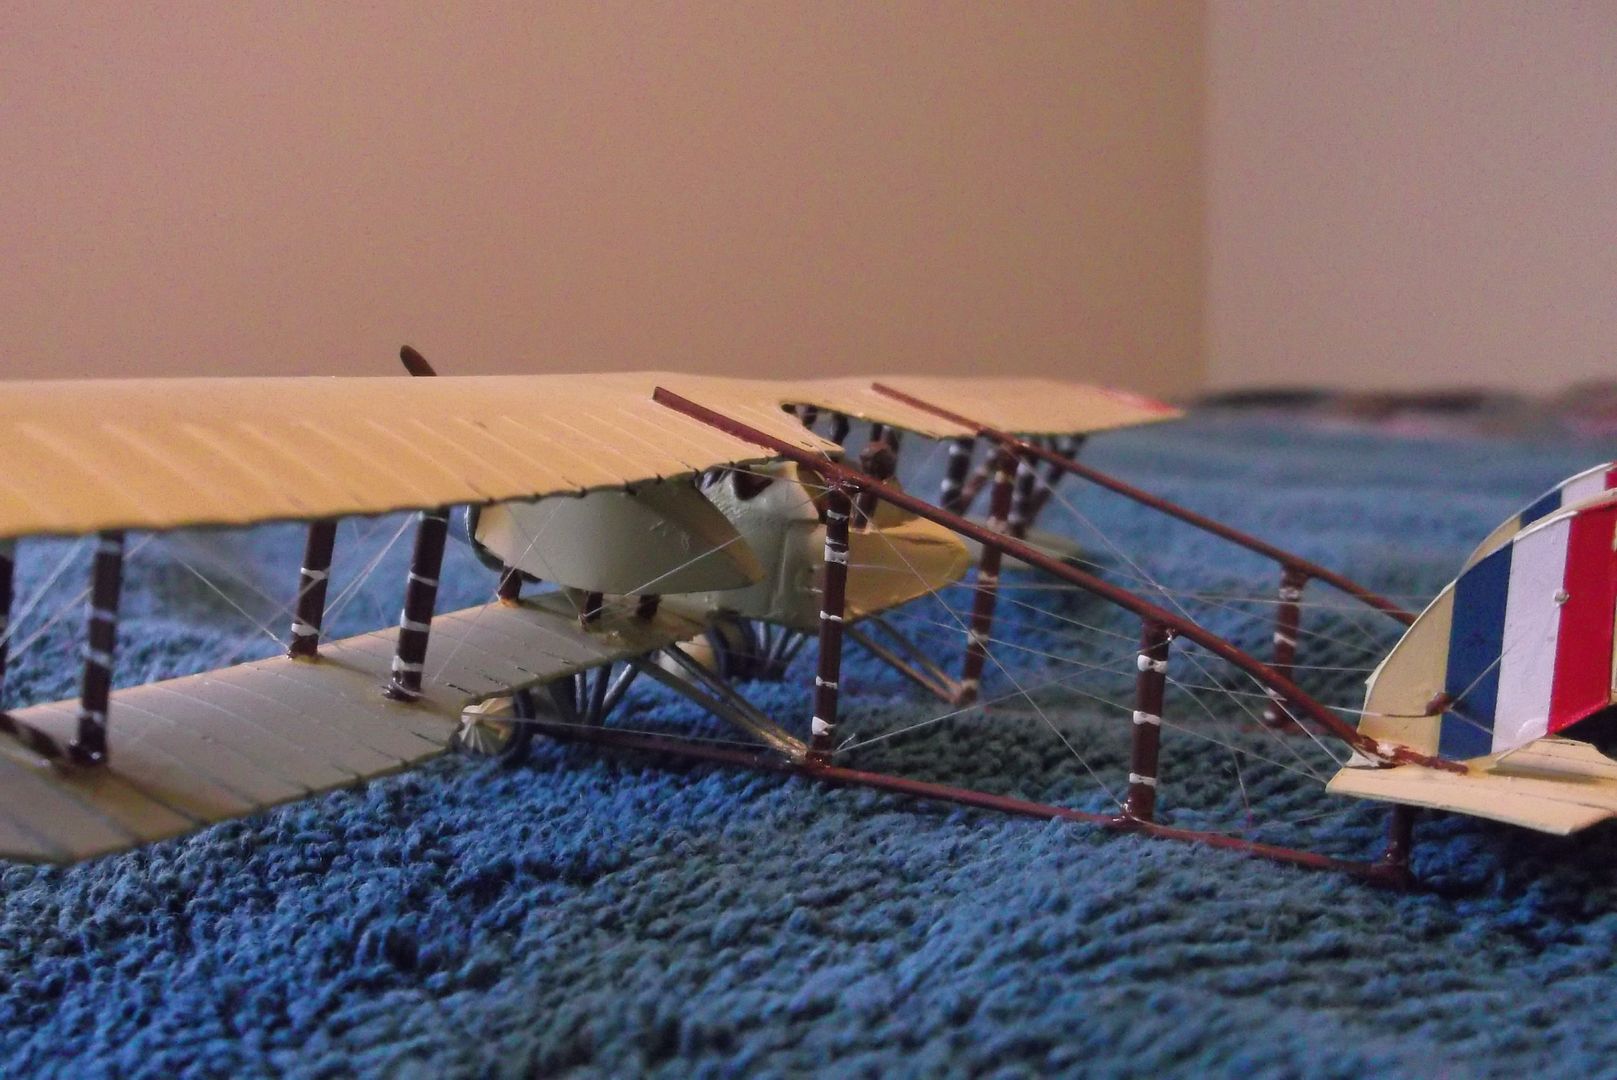
I'm just hoping It will be better than the G.IV I built back in 1984. I've put up the pictures of it on the stand several times before, including earlier in this thread. The G.III had a single engine, whereas the G.IV was a twin. These pictures are new, but the model is now almost thirty years old. The wheels, pilots, engines and gun are from kits. The rest was all done from scratch, just like the A.E.G.
__________________
“Never do anything you can't take back.” —Rocky Russo |

|

|
 06-21-13, 04:25 PM
|
#104 |
|
Airplane Nerd
|
Well I think it's pretty cool no matter how bad you think it is.

__________________

|

|

|
 06-21-13, 06:25 PM
|
#105 |
|
Eternal Patrol
 |
First step was to mount the lower wing to the fuselage. Being a resin kit there was some flash to be trimmed, and about fifteen minutes of careful sanding, but it went in just fine. Second step was to drill the hole for the engine mount. I had made an engine assemlby for the Bleriot, but it was the one from one of the Eindekker kits. The Oberusel was a copy of the French Le Rhone, but they were both 9 cylinder engines and the Bleriot Militaire had a 7-cylinder engine, so I used the one from the kit and saved the one I had already made. It needed a lot of trimming to get it to fit into the Caudron kit, so making the hole in the firewall and trimming the engine firewall to fit took about an hour. This seems silly because the engine is going in almost last, but I had to do this work first because I didn't want to be doing all that handling and drilling and scraping after the thing was painted.
Not much to show for an hour-and-a-half's work, but it's a start. 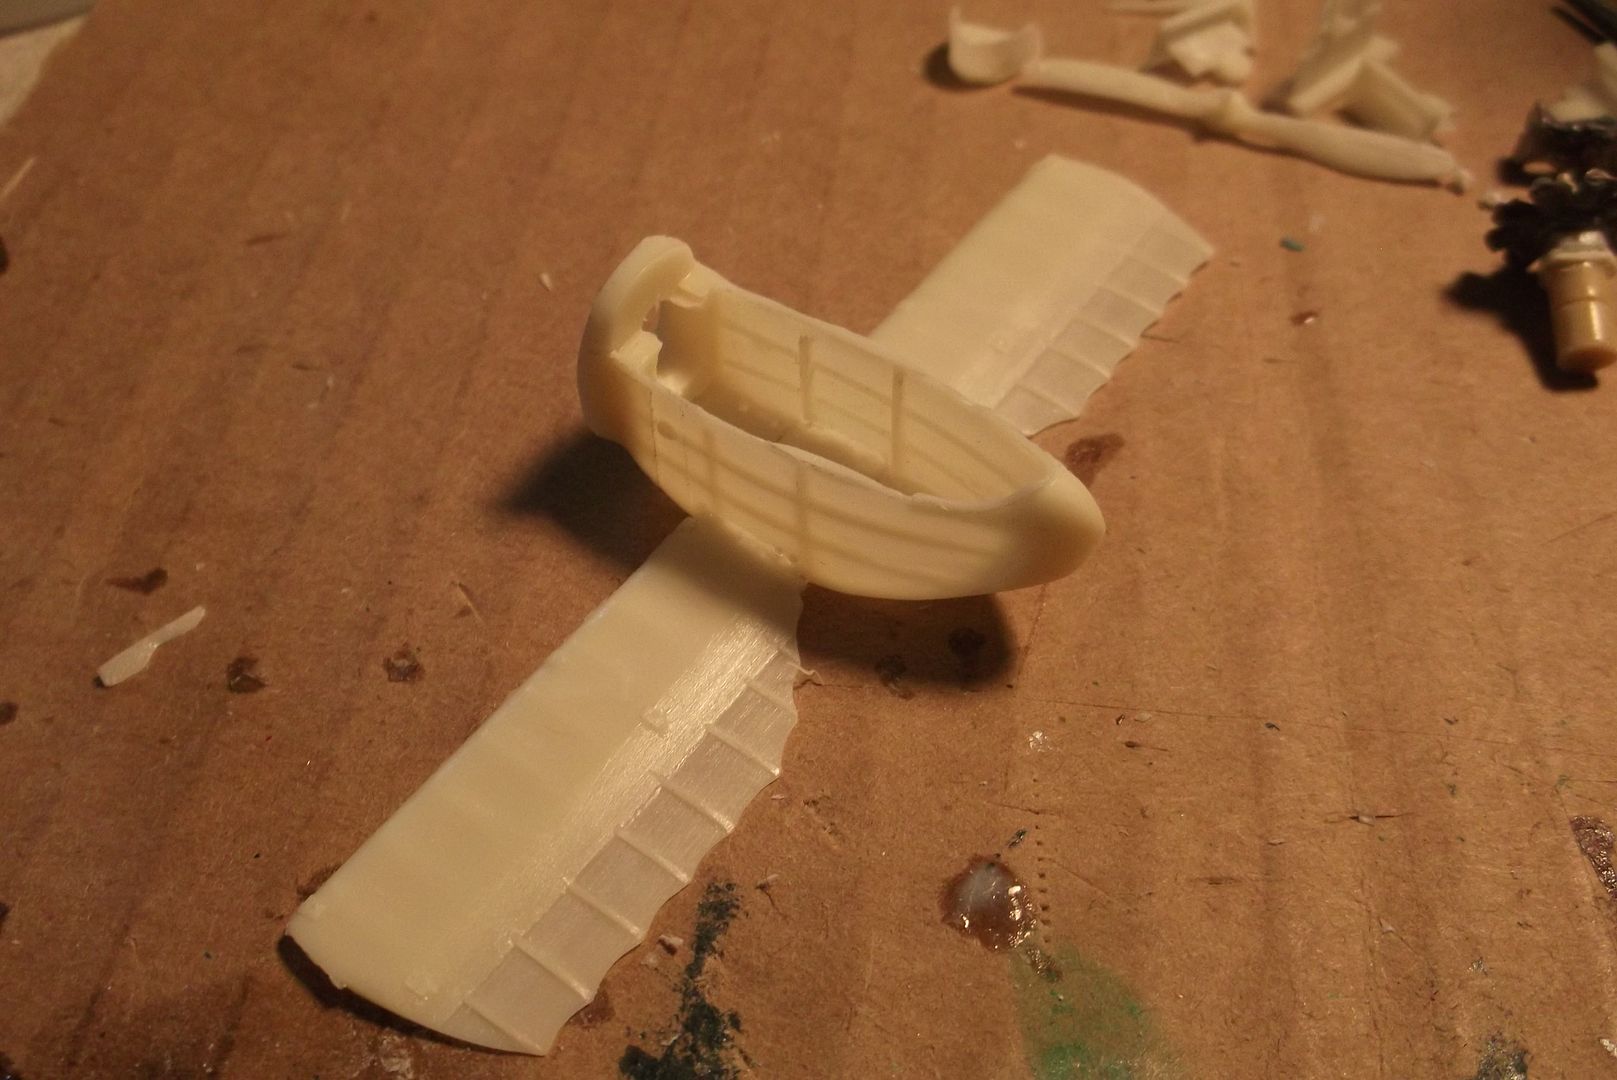 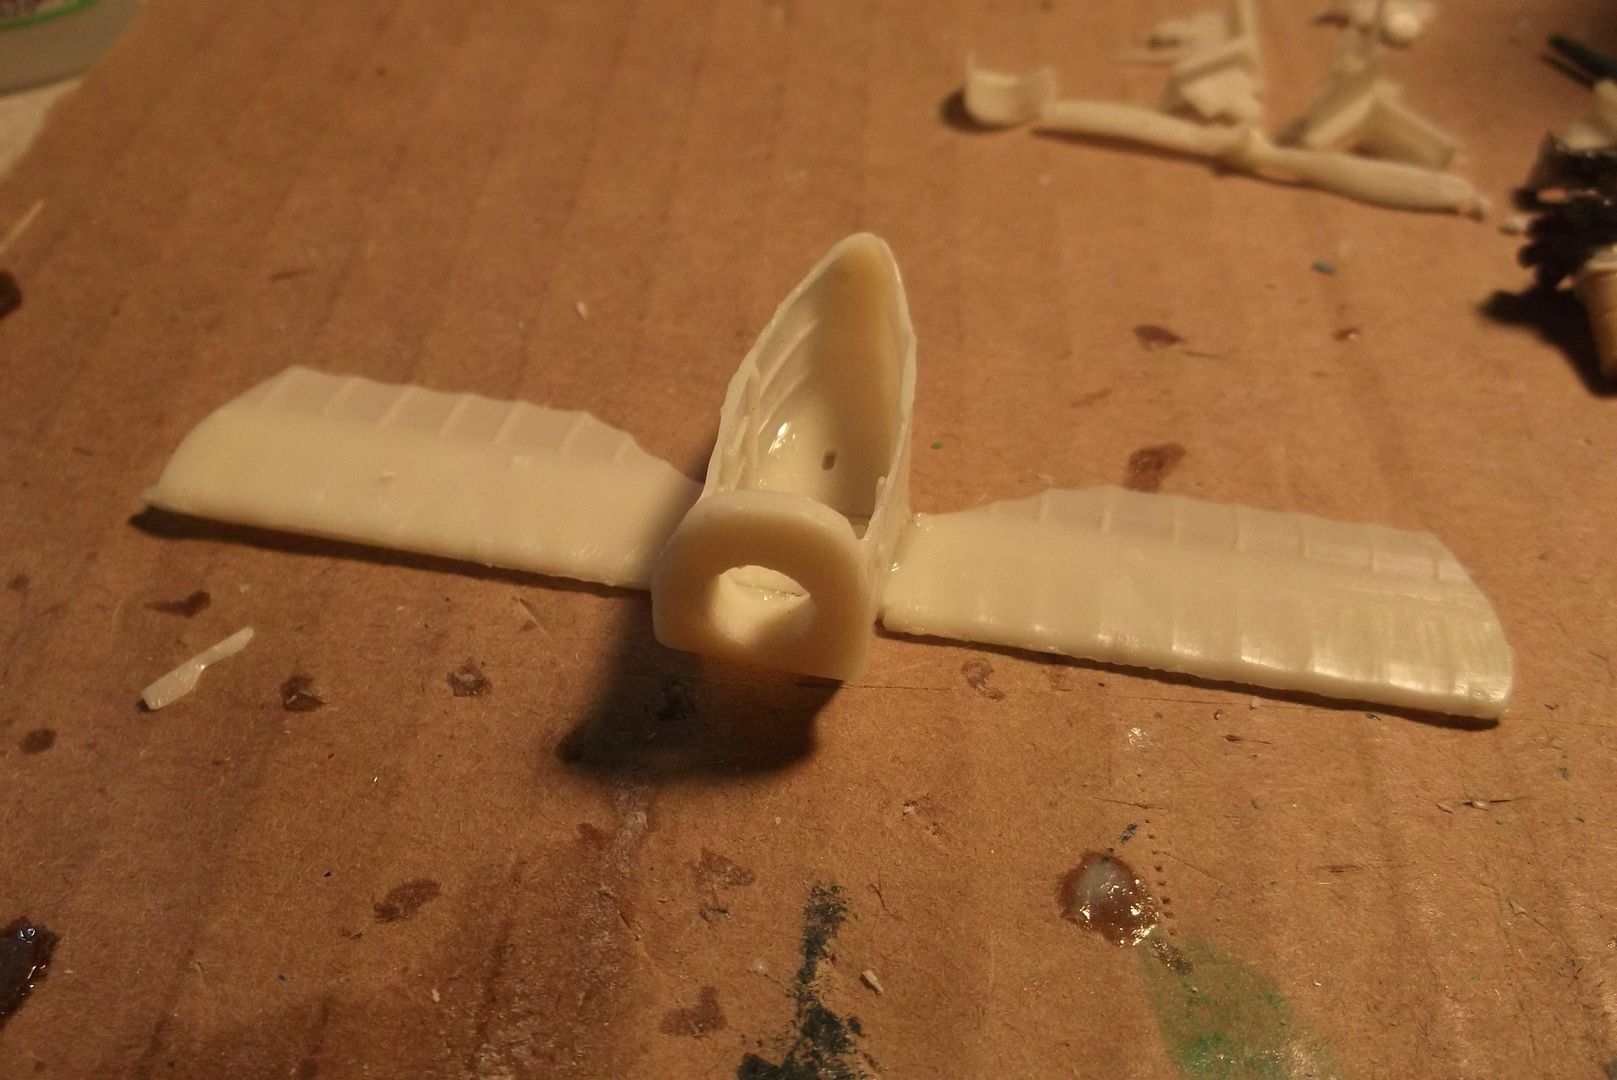
__________________
“Never do anything you can't take back.” —Rocky Russo |

|

|
 |
| Tags |
| model |
|
|
