[At this point I'd been waiting for my props, shafts etc for around 3 weeks! Had sent numerous emails with no reply. I finally sent the shop a message on Facebook and it turns out that my order had been placed on someone's desk for them to give me a call as the prop I had ordered was out of stock, then it was promptly buried lol]
[07/08/2014]
UPDATE 4:
So, I finally received my stuff from Westbourne on Tuesday, and to be fair they sent it out on Monday night via UPS next day, so I guess they have redeemed themselves somewhat!
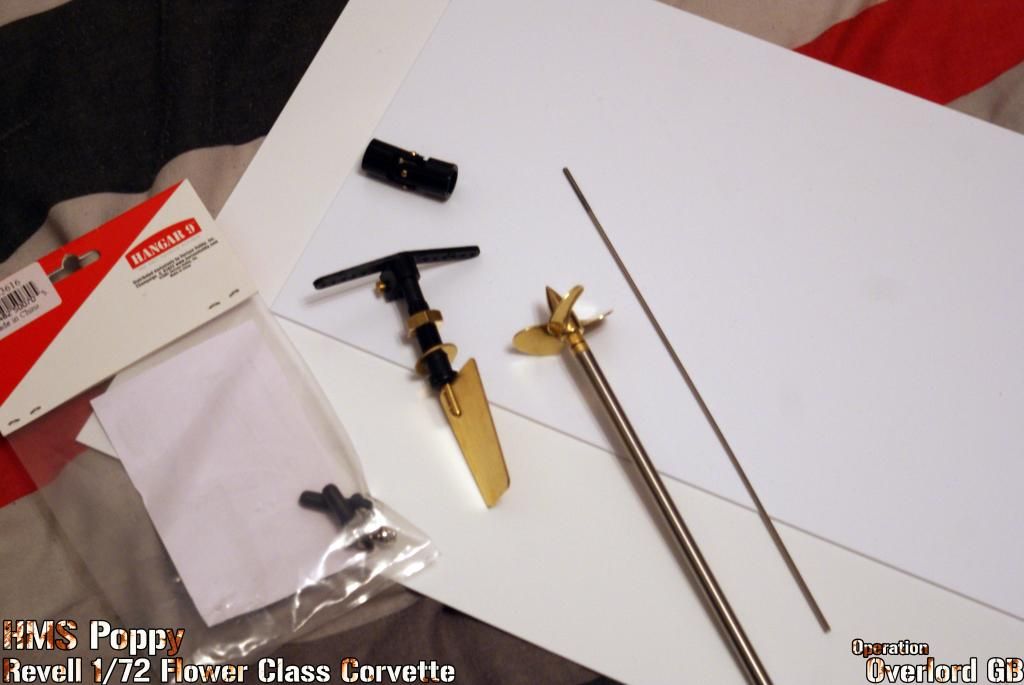
The prop and shaft are fantastic, unfortunately the ball joints and Universal Joint are utter tosh, very low quality. The UJ is also a different size to what I needed so I won't be using it anyway, totally my fault, although there wasn't much info on the site about it
[I've since realised you actually need an insert for each end which I actually now have on order  ]
]. The bolts and metal parts in the Ball Joints are great but the plastic is very crudely moulded with bits of flash and sprue gates, meaning they don't move very well, still usable though. The 'threaded rod' I bought is also not what I expected, it's far smaller diameter than the ball joint fittings and is only threaded about an inch at one end.

I decided to sandwich the brass micro-rudder I bought between the kit parts to get the correct shape. I trimmed the brass down slightly to get it to fit, then sanded out the inside of the plastic, and had to cut out some bits on the side for the shaft. This was then epoxied in, and teh gaps were filled with some metal epoxy putty I totally forgot I had (the dark grey stuff in the pic) It's easy to use and dries rock hard in minutes meaning it's ideal for this.
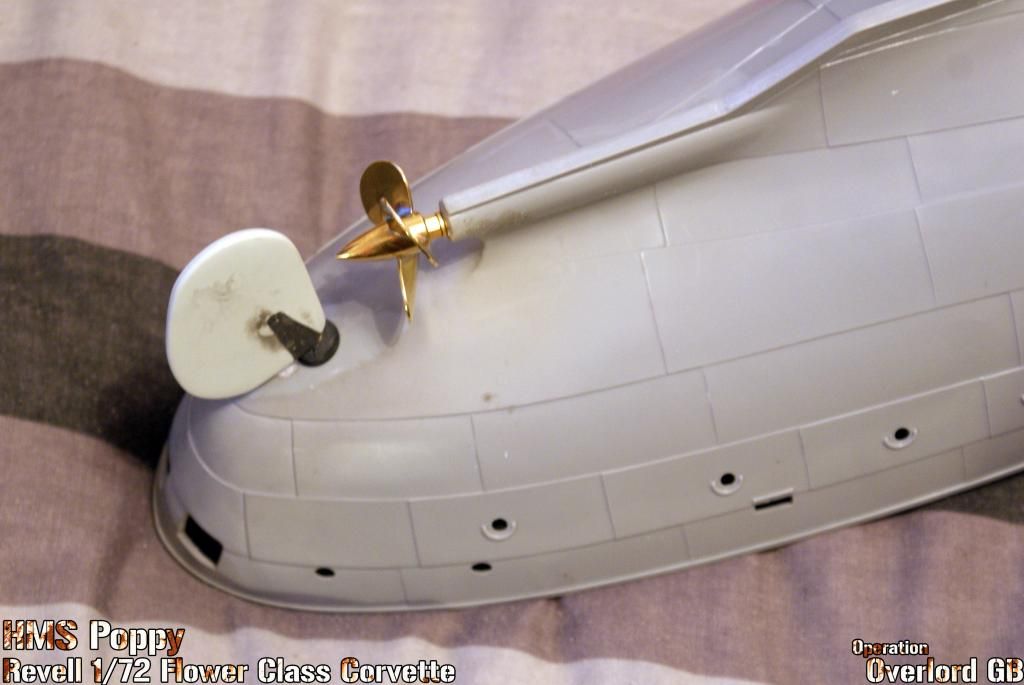
The prop shaft was just inserted into the hull and epoxied in place, I found a drill bit that made it a nice tight fit. Still needs lubricating but that will be done after painting.
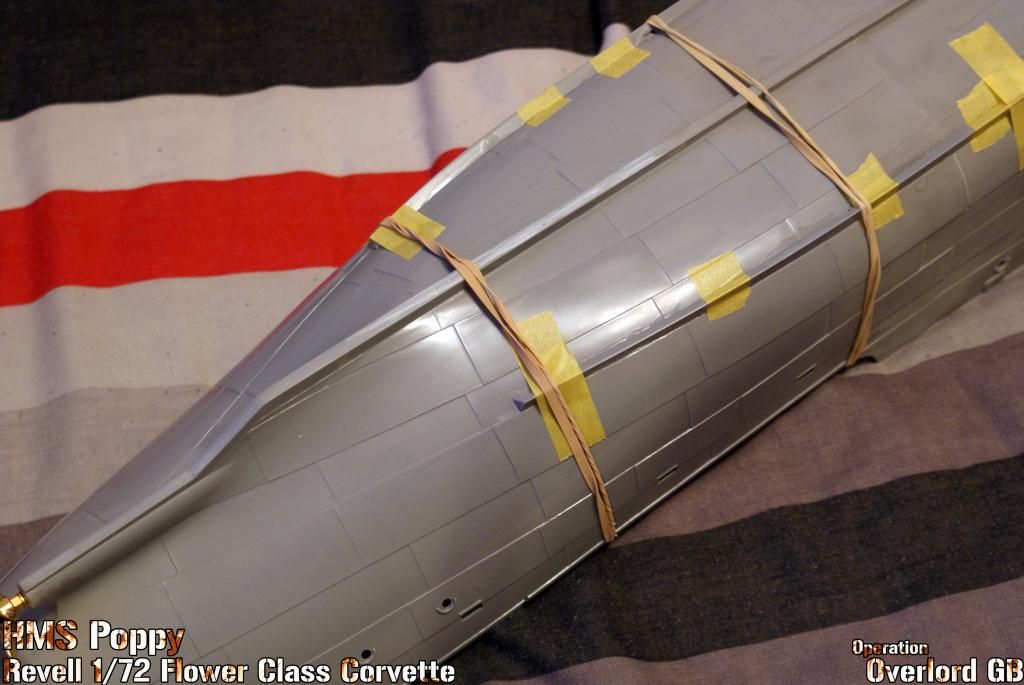
Also got the keels on. A bit of a task as they come straight meaning you have to tightly tape or clamp them to the sides while gluing. Look good in the end though.
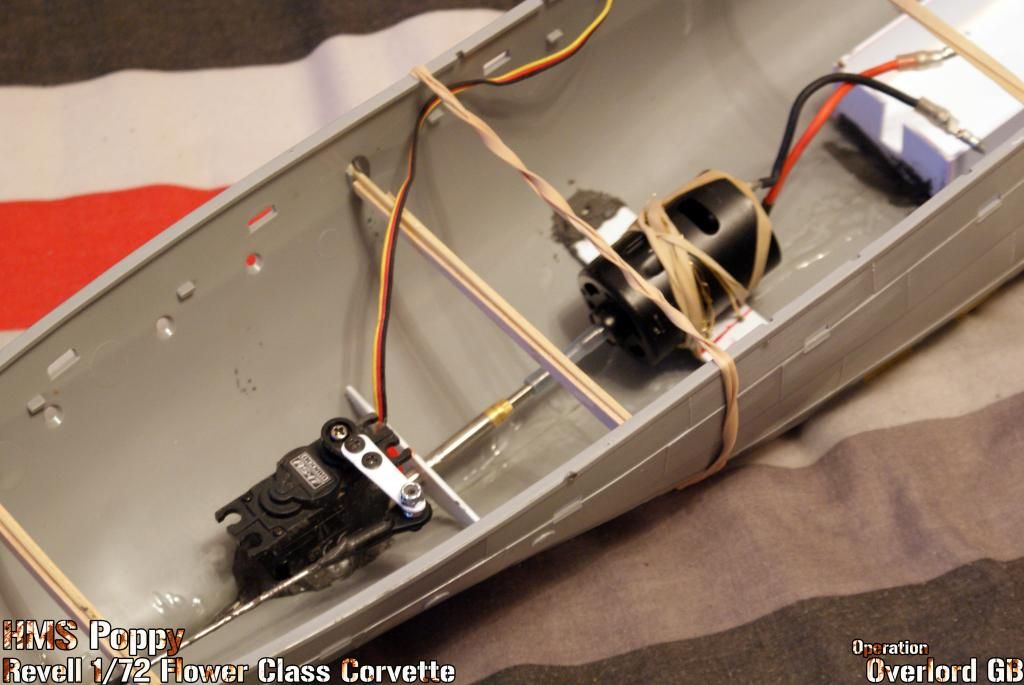
So after about 3 hours of trying to make a motor mount I eventually scrapped everything and simply laid it on a plasticard plank and secured it in place with some picture wire and a laggy band. This means it's secure enough not to fall off but still has some give/vibration damping and means I can easily remove it if needs be.
The shaft connector is simply a small piece of silicon fuel line from an old nitro RC car, it just happened to be the correct diameter to fit tightly over both shafts. Works like a dream, it's flexible, has plenty of give, and means that if anything ever snagged on the prop, that would spin/break first, protecting everything else!
I also made a simple battery box which you can just see off to the right of the pic. All the plasticard bits were superglued, extra-thinned and epoxy puttied down. Really don't want a rogue battery sliding off to one side causing it to capsize!
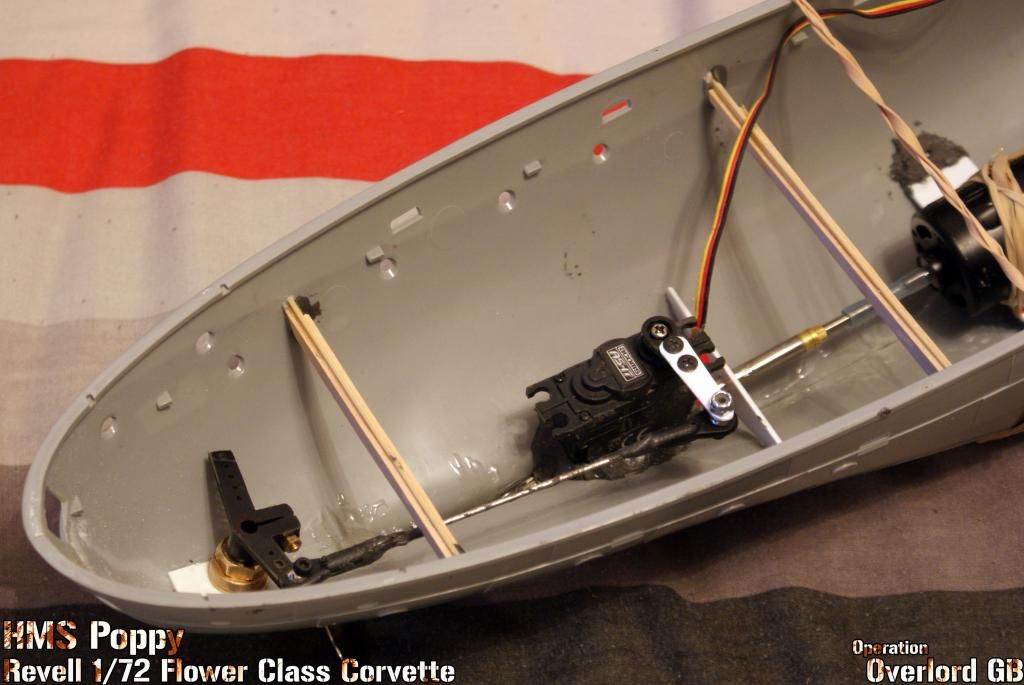
The steering! Not too bad actually, with a little trimming and adjusting I managed to get a linkage setup which worked nicely, the rod was just epoxied into the ball joints, and the servo was pressed into a large blob of the epoxy putty lol. actually very strong, and works really well.
So that's the important bits finally sorted! I can now get on with painting the hull, then it can be ballasted before the decks are glued in place.
TBC...