Forum member "ref", created his GWX SH4TerrainEX program for everyone who loves the Silent Hunter series of these games.
I think I managed to gain some experience in working with the program and I want to share my method.
I'll start with the method itself.
Building a depth map in Photoshop.
To find a map for SH games, I tried a bunch of maps from different sites, ranging from GIS to
matlab. I managed to find a map that was almost perfect for us. It is located on the website NGDC.NOAA.GOV
https://gis.ngdc.noaa.gov/index.html...0.0,180.0,90.0
so...
1) I go to this site, enter the latitude and longitude data, set the "image size" parameter to 4210.4210 and
I save the image as a PNG file. The latitude and longitude data I choose is such that it captures the area
three squares in width and two squares in height. My experience has shown that this is the best option. Can save
and one game square each, but the game will still not see this detail.

2) I open all these files in Photoshop and stitch them together. Then, I transfer the stitched image from RGB mode
indexed color mode. The file is converted to this format and creates its own, roughly speaking, "Terrain.act"
I choose the maximum allowed number of color cells, which is 255 shades.

3) Next, I clean the map from the land, leaving only the places where there is water. Shades I don't need (squares)
are converted to white.

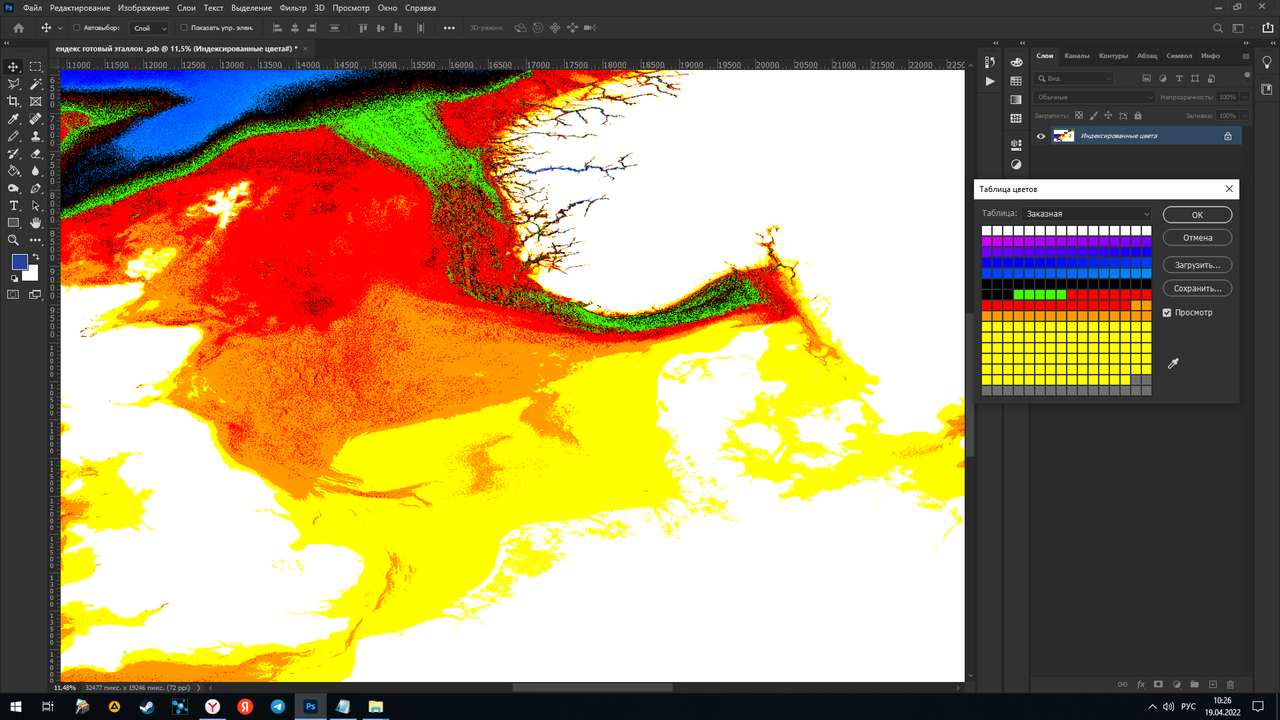
4) Then I translate the color table into "Spectrum":

5) Here the most interesting begins ... Here again I turn the land into white. Then very carefully
I find the necessary depth limits. Constantly checking with the map "The NGDC.NOAA.GOV" in different places of the world.


6) I designate these depth limits on my map with different colors.

This is the most delicate work in fashion...
Further, knowing all the depth limits, I begin to insert my depths into the color palette, which correspond to the depths
SH3. Knowing the depth number -16.0 and the depth number -52.0, I specify these two values as the start and end.
The program itself builds the gradient. Etc. As a result, I get this image:

7) Then, I convert this image to the "Grayscale" format and drag the file into the already prepared
project with our squares from the game.

8) Then I compare all this, move it, cut it into squares and paste it into the game.
This is a rather superficial description describing the method of constructing a map.
A little later I will write about the depths themselves in the game.