Glued resin piece behind the exhaust ports. Ground the ports down and filled the holes. Still need to fabricate new ports below the waterline.
Drilled 4 new limber holes below the old port location on each side. The first one was ugly, but I get better with practice.

Opened the small holes below the tower. That worked out fine on both sides.
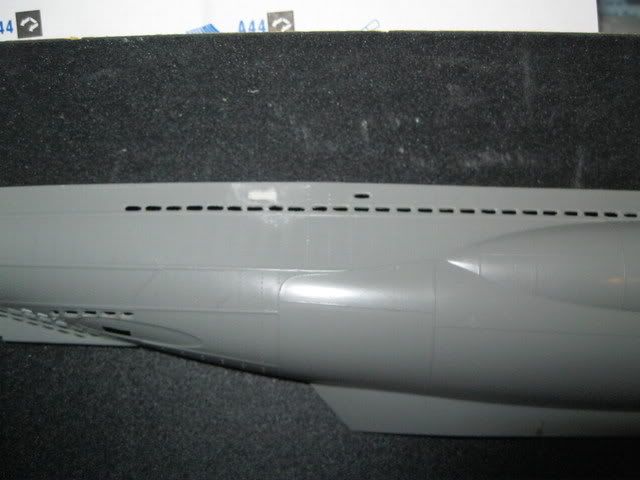
After a bit of research, I need to fill the three bottom holes on the left of the photo, and add another to the top row. Also need to add a couple further back along the side. (Using U-295 as a model) These are tiny holes, and my smallest bit will barely do the job. Wish me luck.
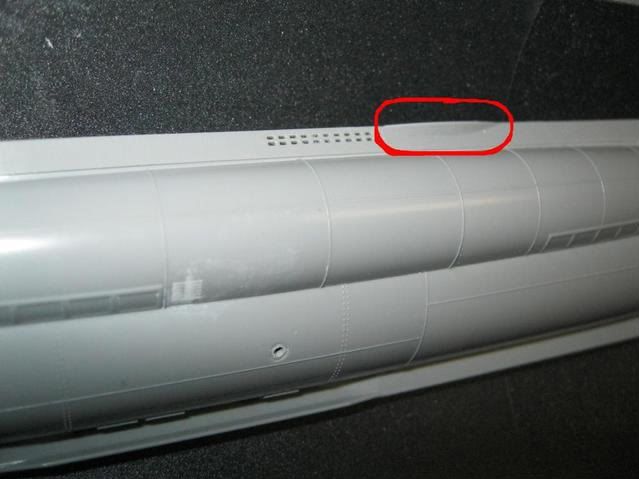
The area marked by the red oval is charachteristic of later batches of VIIC/41s and VIICs with the type IV turm. The only 2 photos I've seen of U295 clearly show no bulge in this area. Looks like I have a bit more alteration to do here. Also note I filled the louvred grate area on the RFO/MB tank. Need to add a skim coat and finish sand the area on both sides.
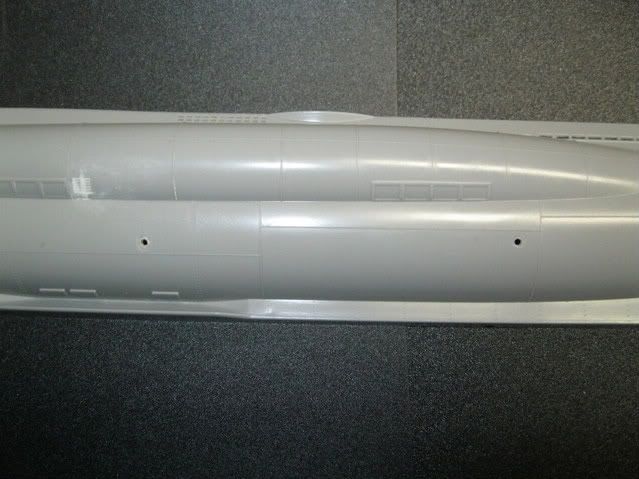
Drilled the two ports seen above, and was test fitting the PE pieces for this area when it occured to me that these ports may not have had louvred grates as the PE pieces would suggest. If they were intakes, they probably would, but if they were discharges, they would not.
*sigh* more research
More later!